
31 Stunning Photo Wall Ideas That Transform Your Family Memories Into Art
Looking to breathe new life into your bare walls? Family photos represent your most cherished memories, but displaying them effectively can be challenging.
No more settling for random scattered frames or that forgotten photo album collecting dust. With these creative photo wall ideas, you’ll transform your family pictures into stunning visual stories.
Ready to turn those blank walls into conversation starters? Let’s explore 31 innovative ways to showcase your family’s precious moments.
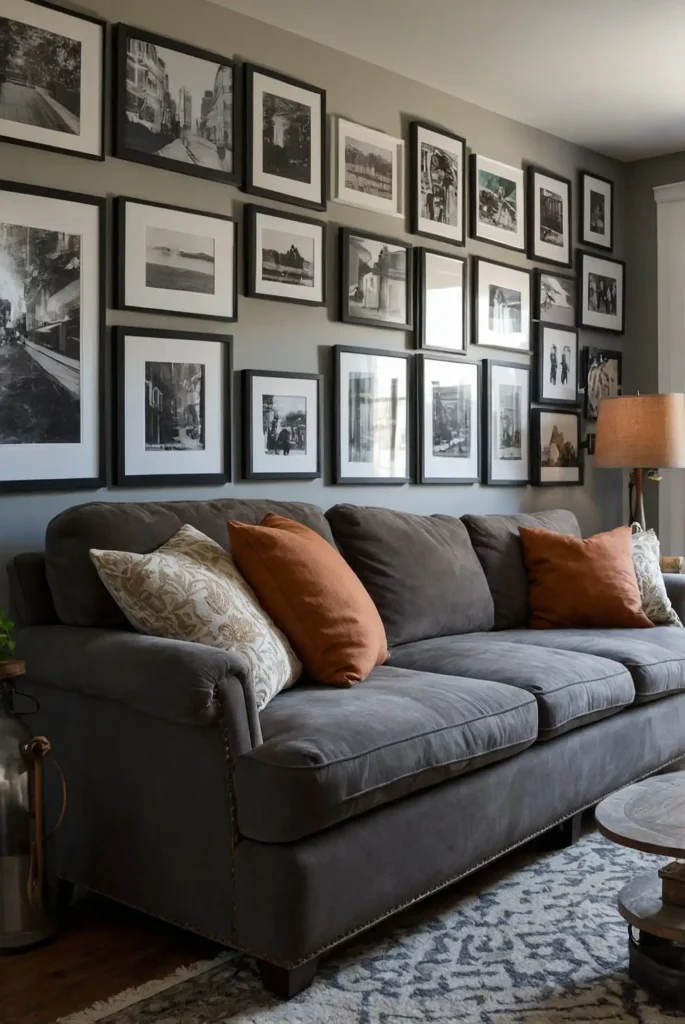
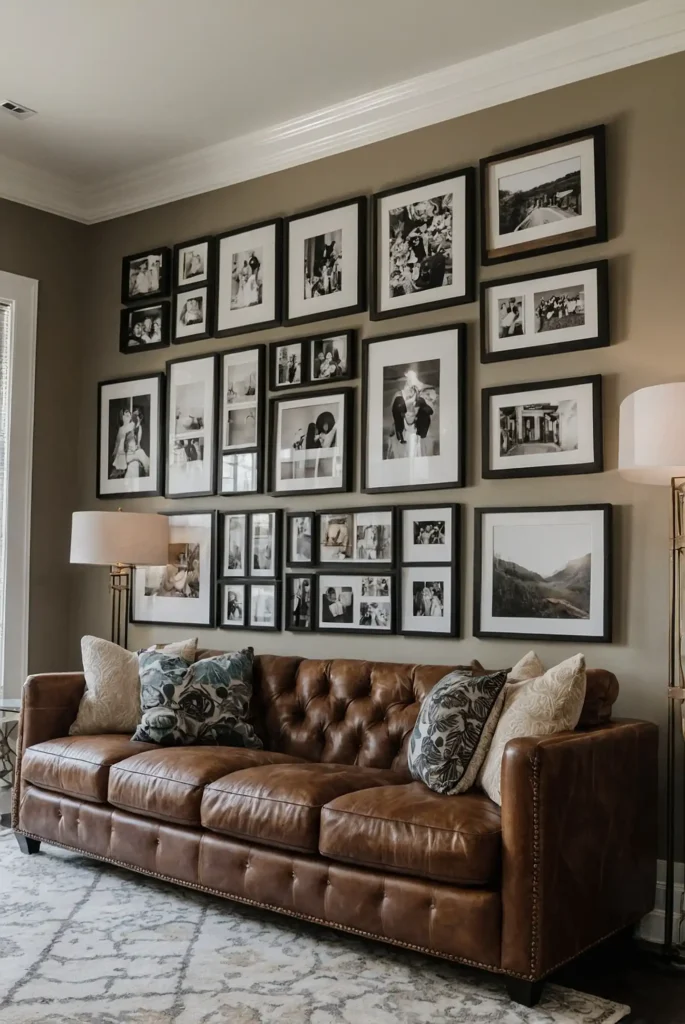
1: The Classic Grid Gallery
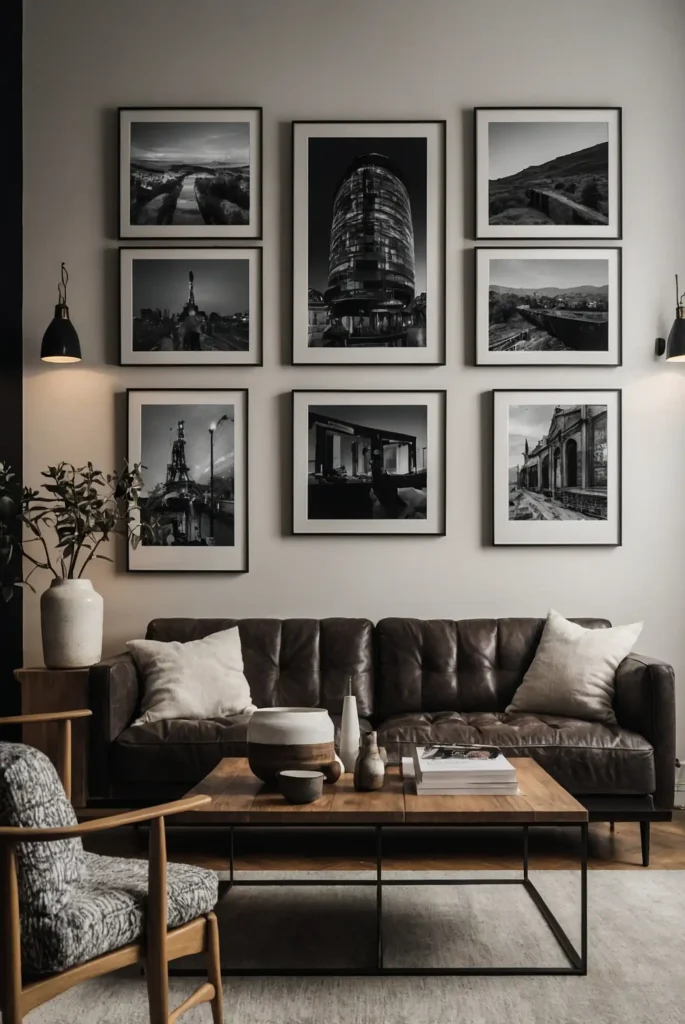
Create a perfect grid of identical frames with equal spacing between them.
This clean, organized approach works well with black and white photos for a timeless look.
Choose matching frames in a color that complements your room’s palette.
Maintain precise measurements between frames to achieve the professional gallery effect that visitors will admire.
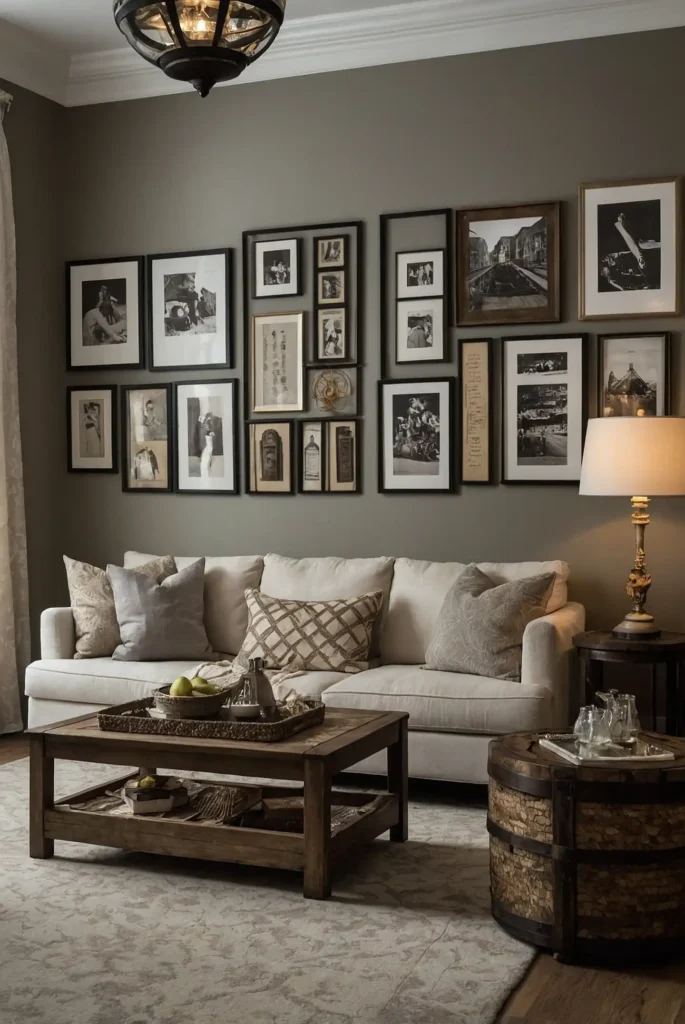
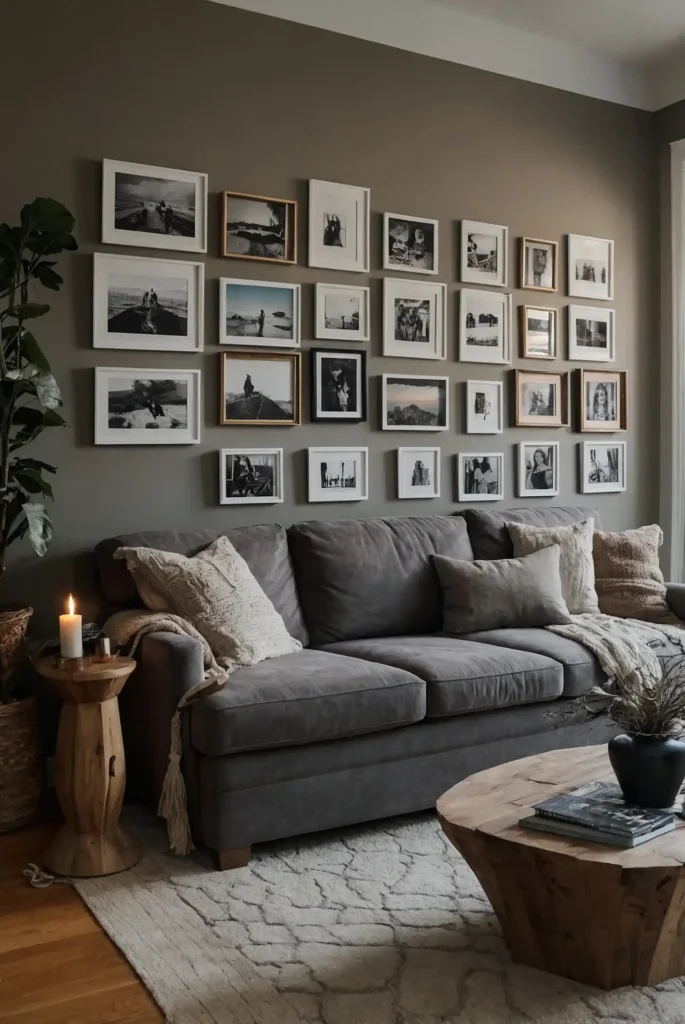
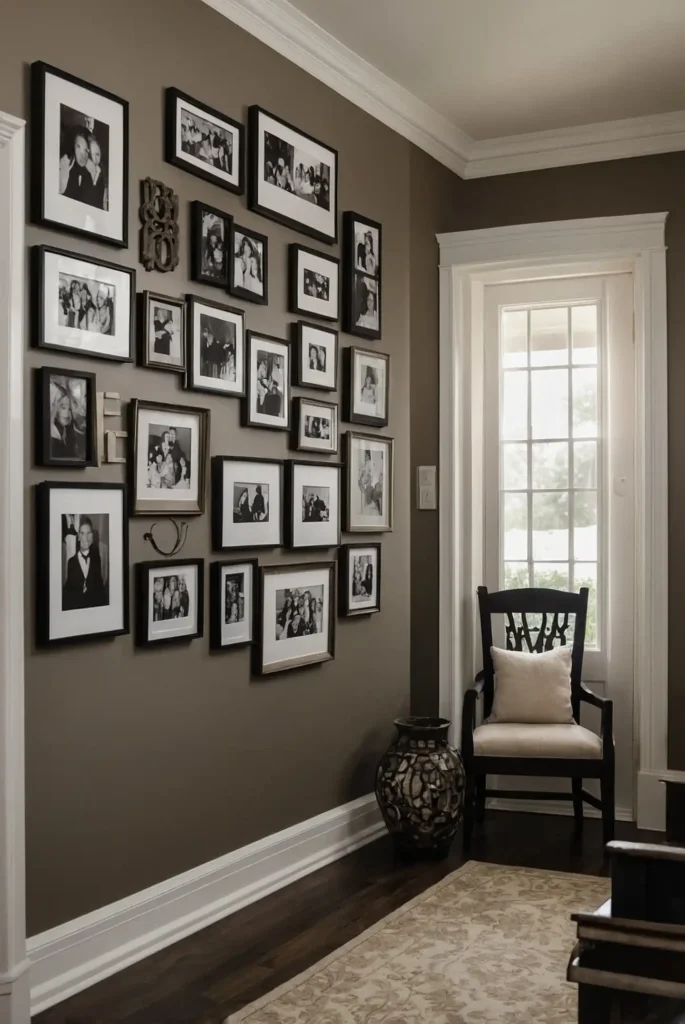
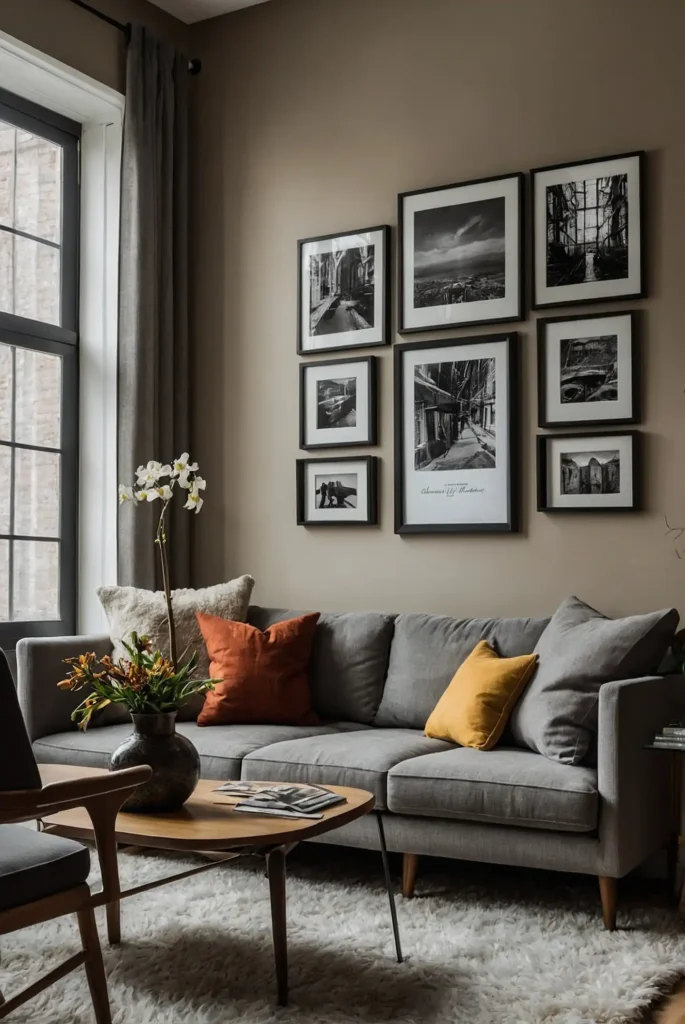
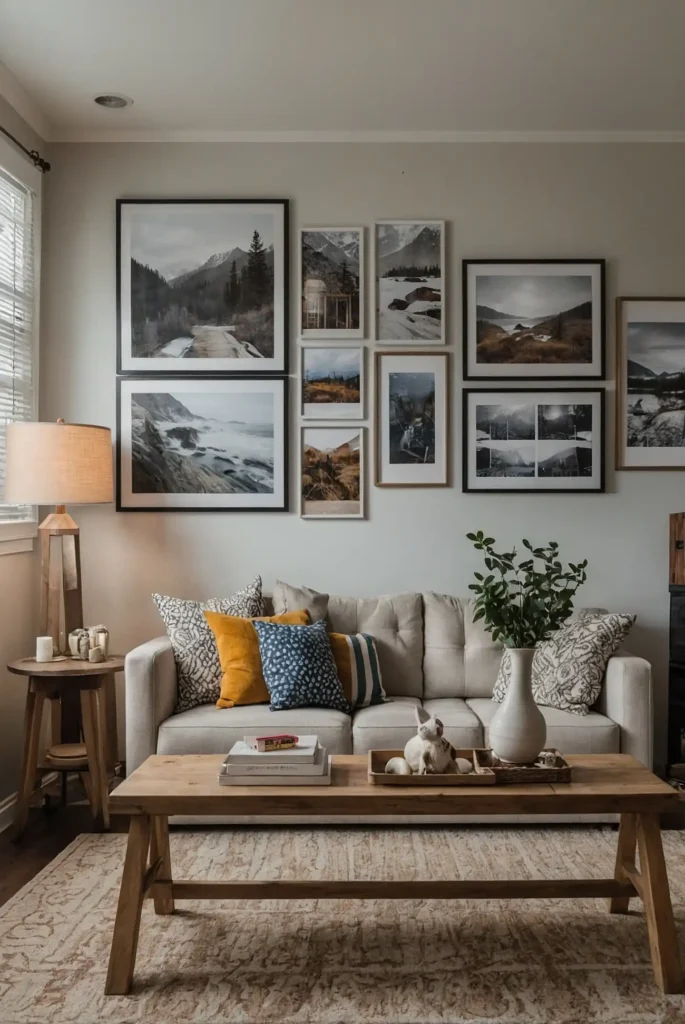
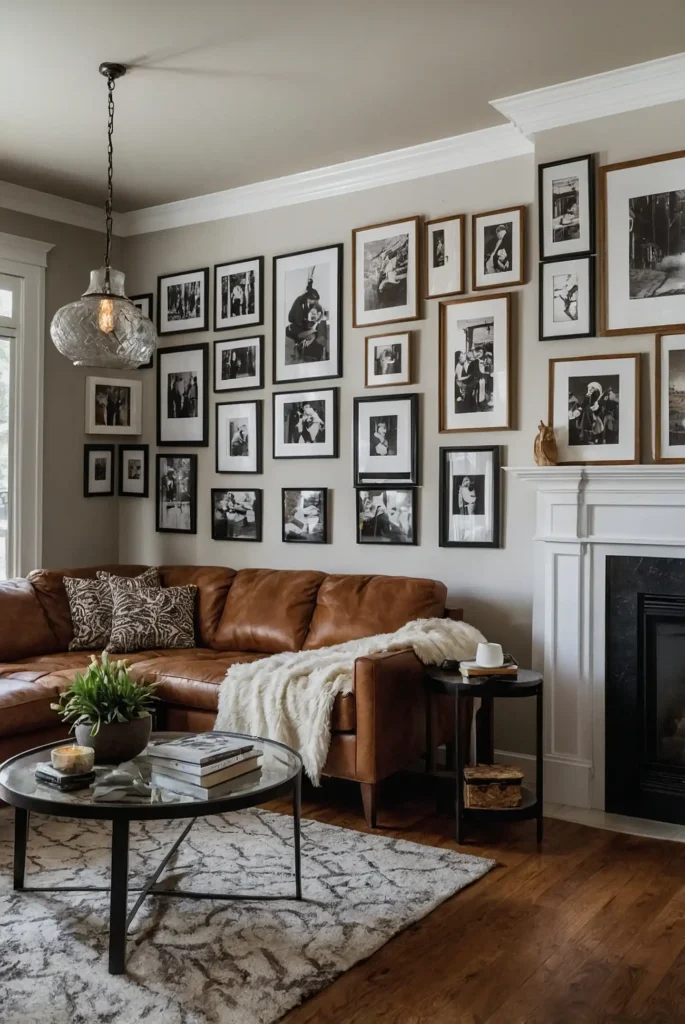
2: Asymmetrical Cluster Arrangement
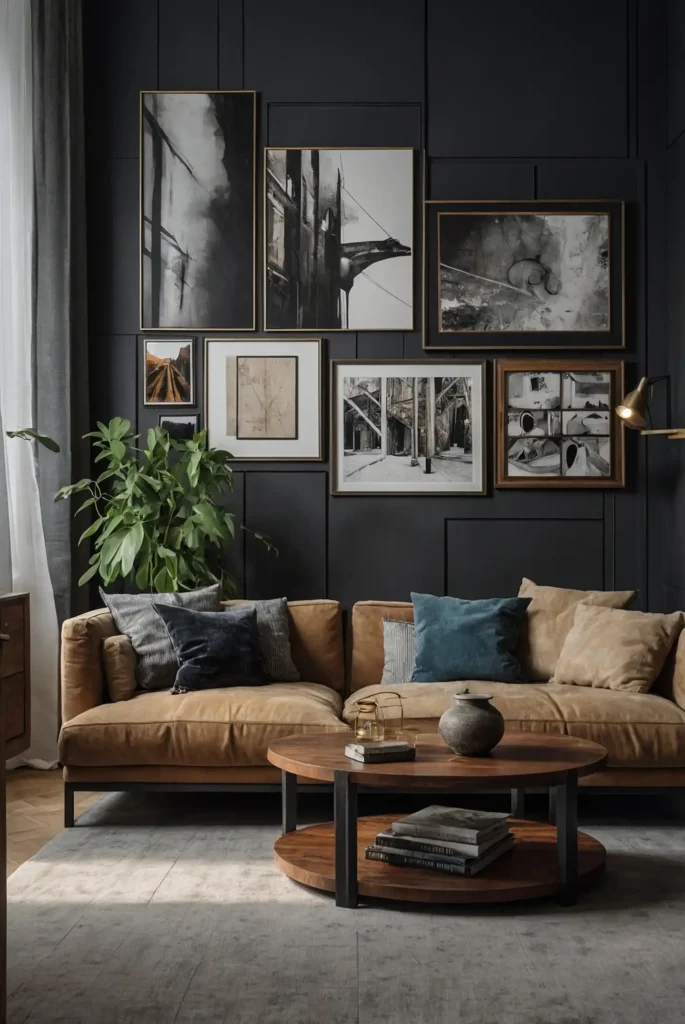
Break the rules with an organic, free-flowing photo cluster. Start with a central anchor image, then build outward with various frame sizes.
This style thrives on controlled chaos—mix vintage and modern frames while maintaining a cohesive color story.
The natural arrangement creates visual interest and allows for easy expansion as your photo collection grows.
3: Staircase Timeline Display
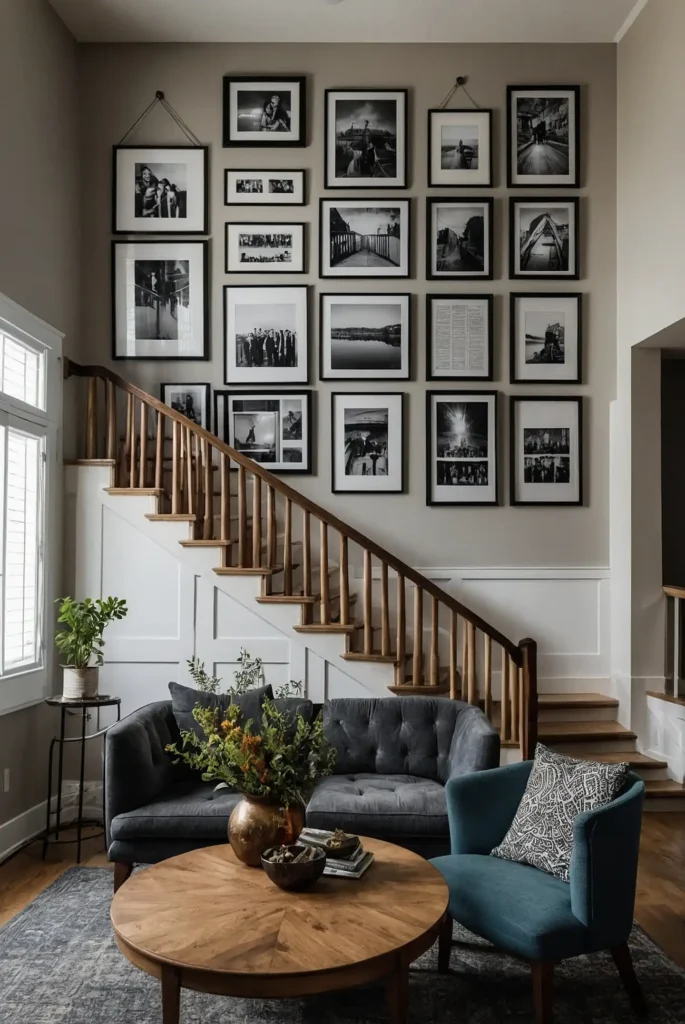
Transform your staircase wall into a chronological family journey.
Begin with older photos at the bottom, gradually working upward with more recent memories.
The ascending layout naturally guides viewers through your family history.
Use consistent frame styles but vary the sizes to maintain visual rhythm along the staircase.
4: Floating Shelf Photo Display

Mount several floating shelves at different heights to create flexible photo displays.
This approach allows you to layer frames of varying sizes without hanging each one individually.
You can easily switch photos without putting new holes in your walls.
Add small plants or mementos between frames to personalize your display further.
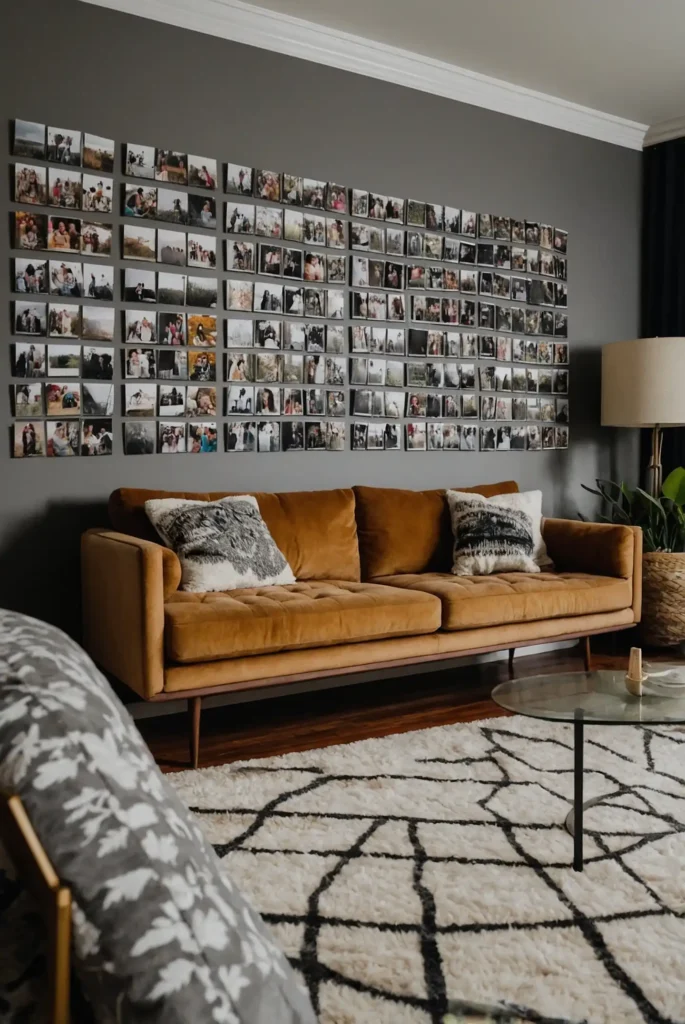
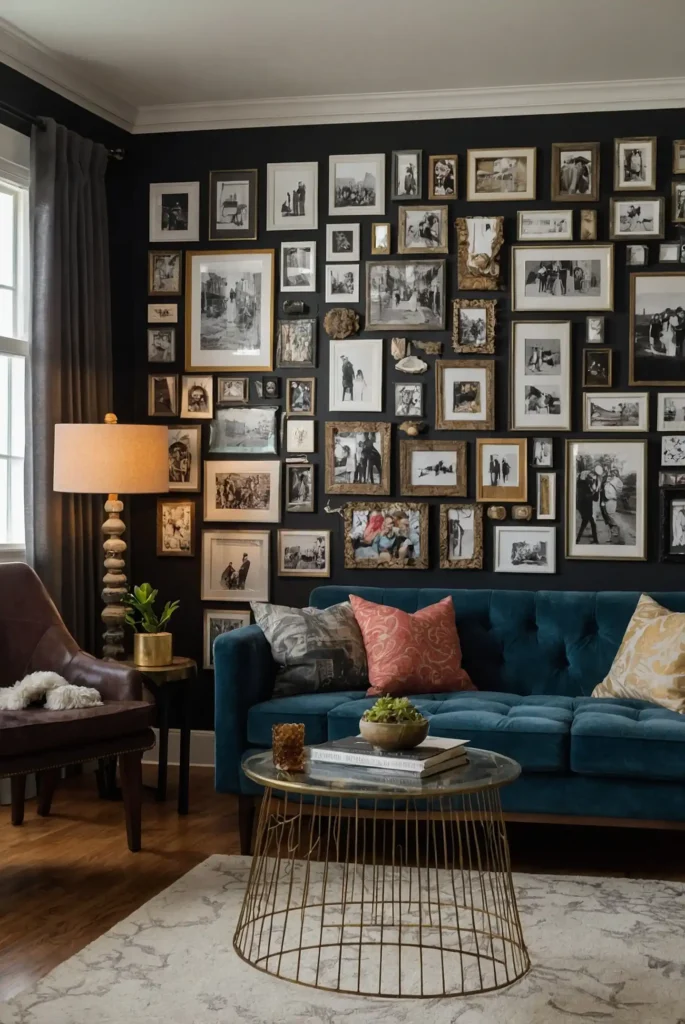
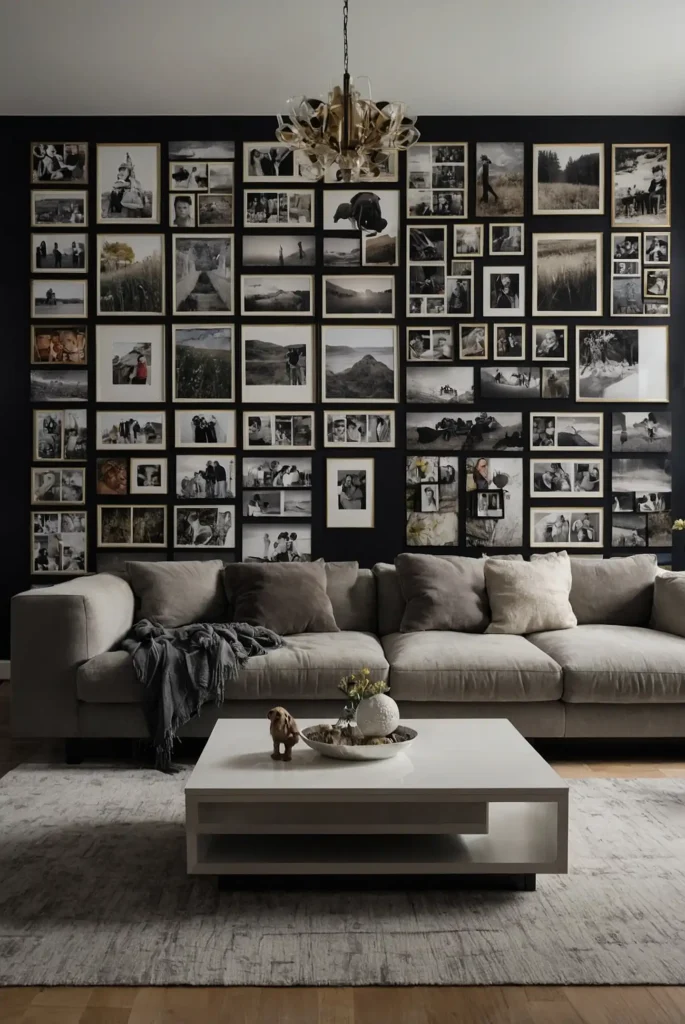
5: Floor-to-Ceiling Statement Wall
Cover an entire wall with photos for a bold, dramatic effect. Mix professional family portraits with candid snapshots to create a comprehensive visual biography.
This maximalist approach transforms your space into a personal museum.
Keep some visual consistency with either frame colors or photo treatments to prevent overwhelming chaos.
6: Geometric Pattern Formation
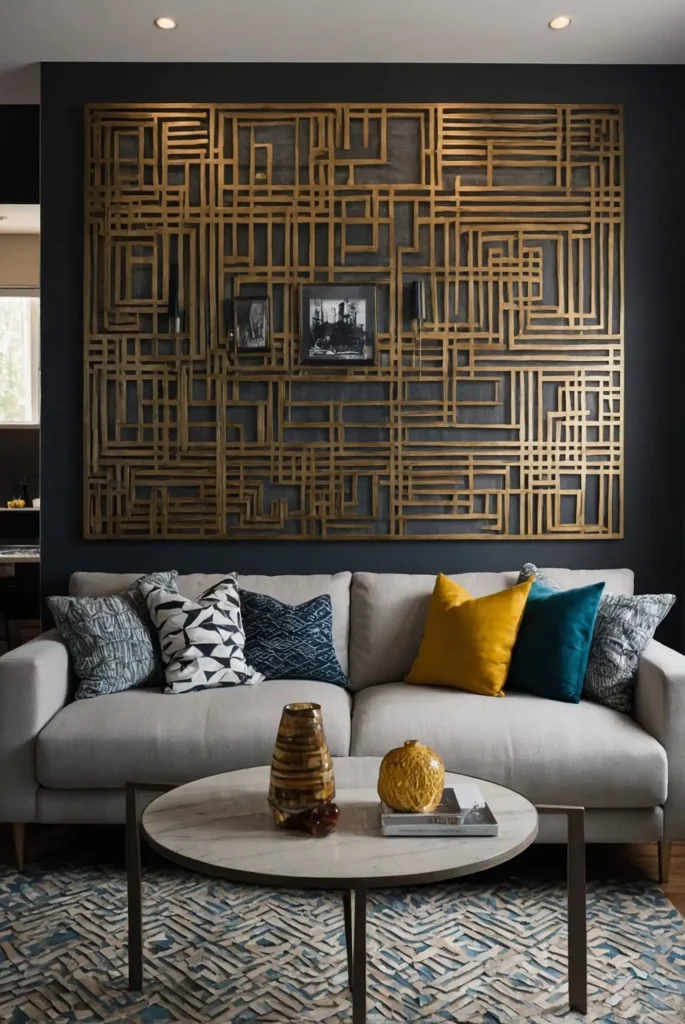
Arrange your photos in a specific geometric shape—like a hexagon, circle, or diamond. This creates a deliberate artistic statement beyond random photo placement.
Start by mapping out your pattern on the floor before transferring to the wall.
This approach works particularly well with identical frame sizes for clean, mathematical precision.
7: Split Canvas Photo Wall
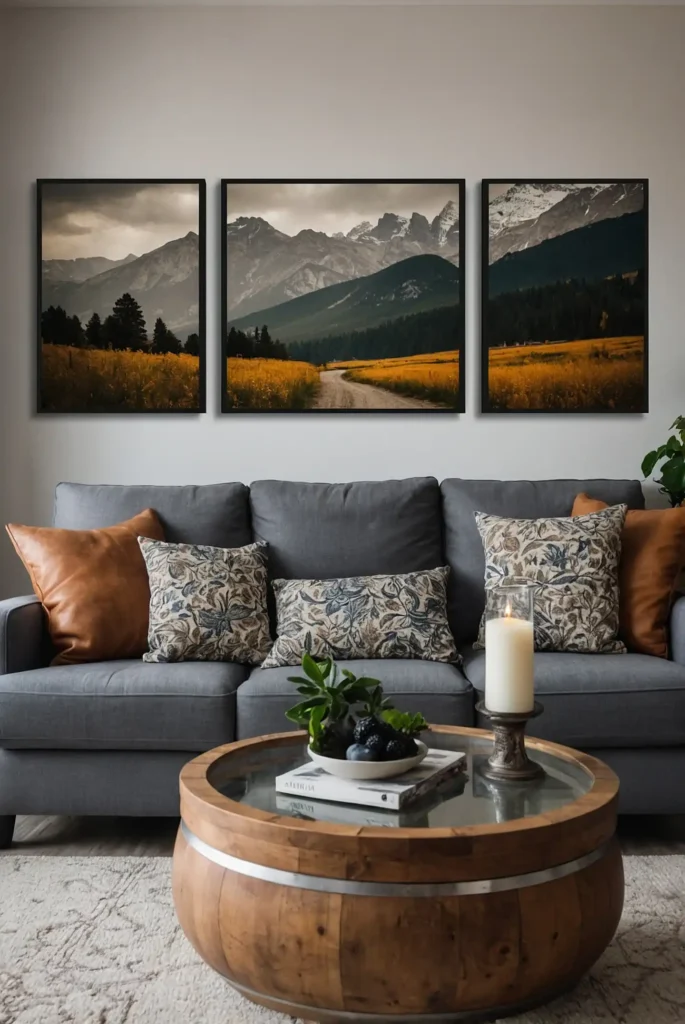
Transform your favorite family photo into a multi-panel canvas display.
This contemporary approach divides a single image across multiple canvases for dramatic effect.
The visual puzzle creates a modern art installation feeling.
This works especially well with landscape photos or group shots where the separation won’t disrupt key faces.
8: Vintage Frame Collage
Hunt for ornate antique frames from thrift stores and create an eclectic gallery wall. The vintage frames add character and history to even recent photographs.
Paint mismatched frames in a unified color for cohesion, or maintain their original finishes for maximum eclectic charm.
This approach pairs particularly well with sepia or black and white family photos.
9: Photo Ledge Layering
Install photo ledges that allow you to overlap and layer frames without committing to particular wall arrangements.
This casual, layered approach feels curated yet relaxed.
The depth created by overlapping frames adds visual dimension to your wall. You can easily rotate photos seasonally without dealing with wall anchors and nails.
10: Themed Color Story
Select photos that share a particular color palette and group them together. This creates a sophisticated, cohesive look even with different frame styles.
Beach photos with blue tones or autumn shots with warm oranges create a visually harmonious collection.
The color coordination elevates random family snapshots into a deliberate art installation.
11: Magnetic Photo Wall
Paint a section of wall with magnetic paint, then add your favorite color over it. This creates a flexible display area where you can attach photos with decorative magnets.
This works wonderfully in kitchens or playrooms where you want to frequently update images. The casual, ever-changing display becomes an interactive family feature.
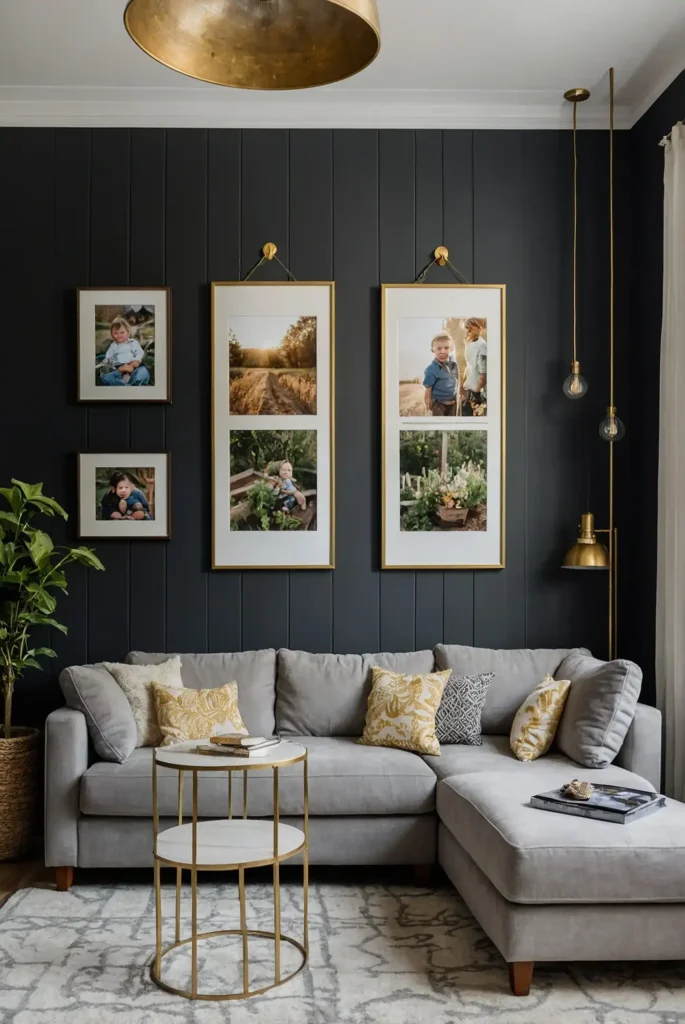
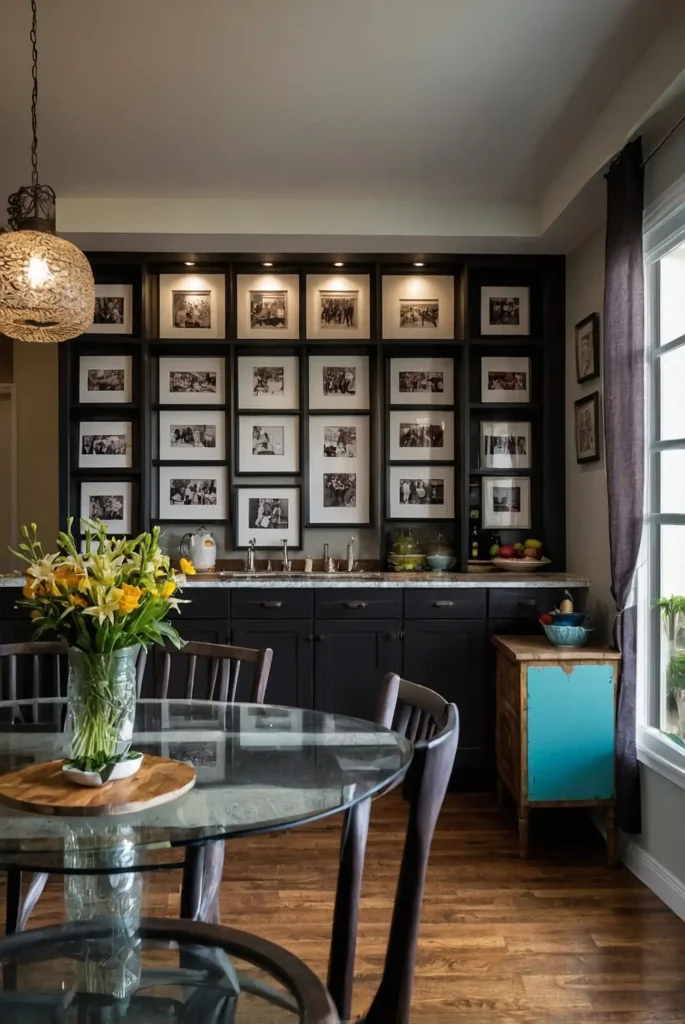
12: Photo Wall with Integrated Lighting
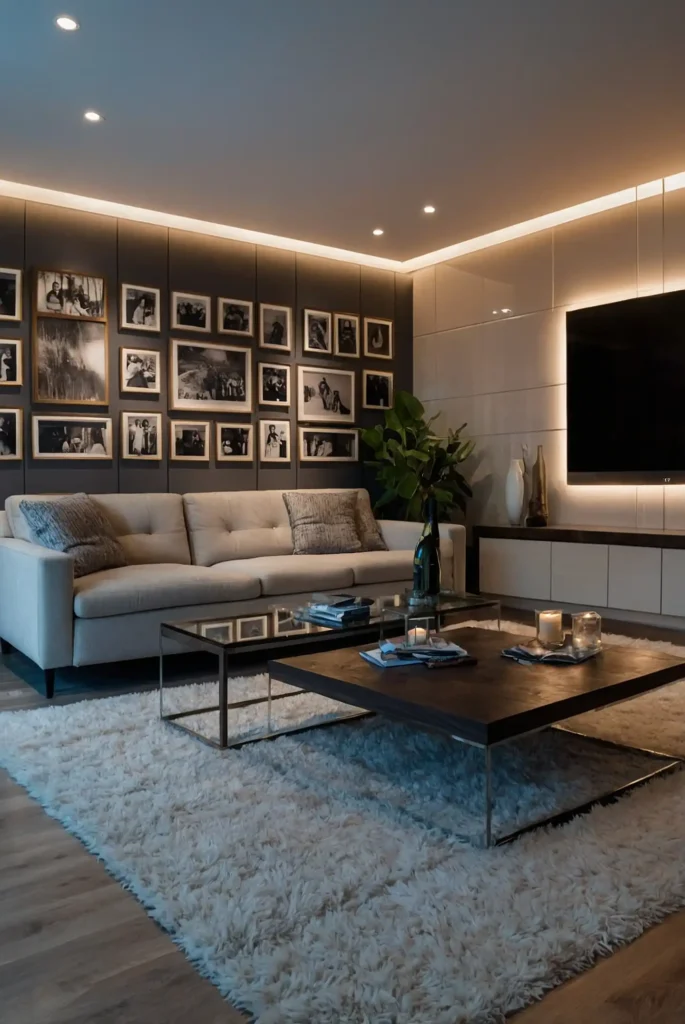
Install small LED picture lights above special photos to create a museum-quality display. The directed lighting draws attention to your most treasured images.
This dramatic lighting transforms ordinary photos into highlighted art pieces. Consider this approach for your most professional or meaningful family portraits.
13: Seasonal Rotation Gallery
Dedicate a wall space to photos that change with the seasons or holidays.
Display summer beach trips during warm months and cozy winter gatherings when it’s cold.
This keeps your decor fresh and relevant throughout the year. Use consistent frames but rotate the content to maintain visual cohesion with changing photos.
14: String and Clip Display
Hang sturdy twine or decorative cord horizontally and use small clips to attach photos.
This casual, adjustable approach creates a relaxed, bohemian aesthetic.
Perfect for displaying recent photos or children’s artwork alongside family pictures.
The informal presentation feels youthful and adaptable to changing displays.
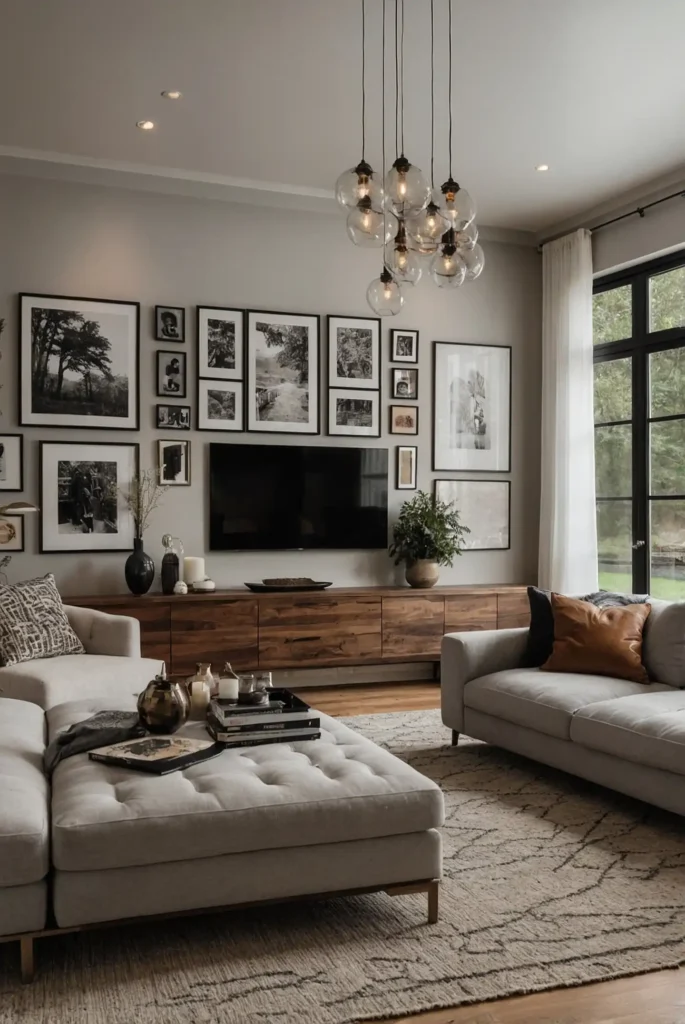
15: Around-the-TV Gallery
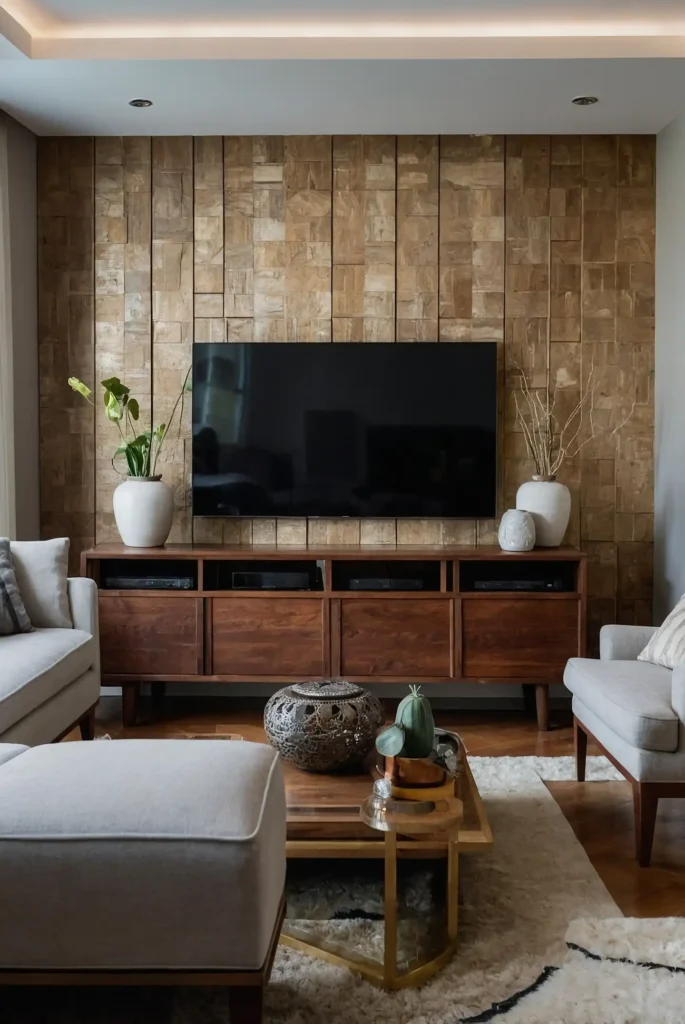
Frame your television with symmetrically arranged family photos. This integrates your TV into your decor rather than letting it dominate the room.
Choose frame colors that complement your television and entertainment unit. The surrounding photos soften the technological presence in your living space.
16: Hallway Portrait Timeline
Transform a long hallway into a chronological family journey with evenly spaced portraits. Start with older generations and progress toward the present day.
This creates a powerful visual history lesson for children and guests. The linear progression naturally fits the walking experience through a hallway.
17: Mixed Media Memory Wall
Combine framed photos with other meaningful items—your child’s artwork, vacation souvenirs, or shadow boxes containing mementos. This creates a rich, textured story wall.
The dimensional quality brings your memories into three-dimensional space. Balance the visual weight by spacing items thoughtfully across your wall.
18: Corner Wrap-Around Gallery
Extend your photo display around a corner to create a dramatic, room-defining feature.
This unexpected approach transforms an often-neglected architectural element.
The corner arrangement draws the eye through the space naturally.
Maintain consistent spacing as photos transition around the bend for a professional look.
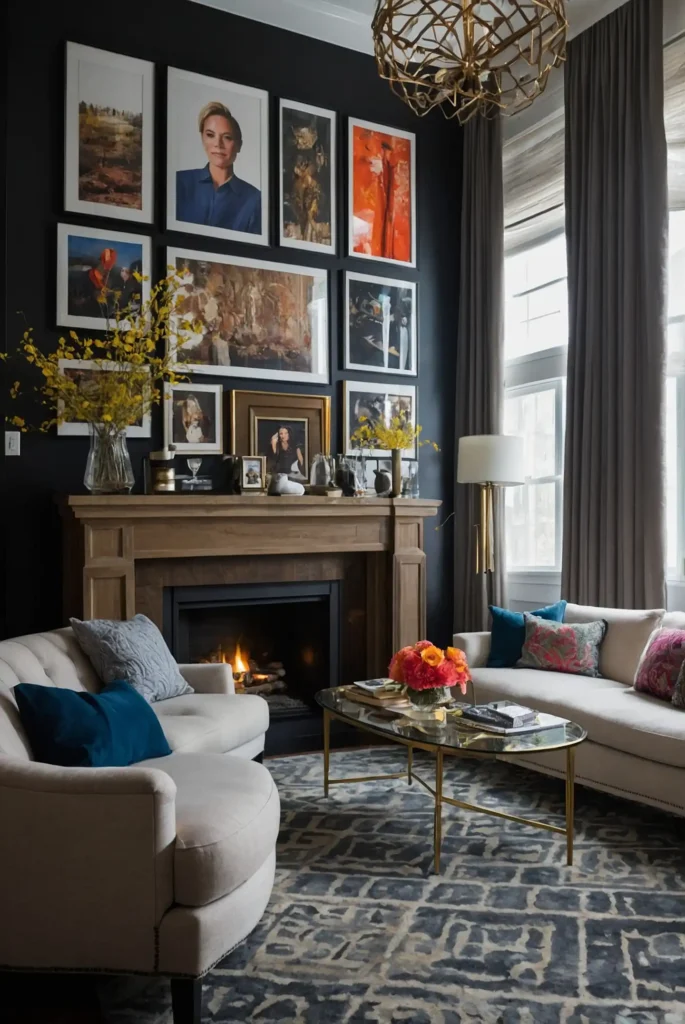
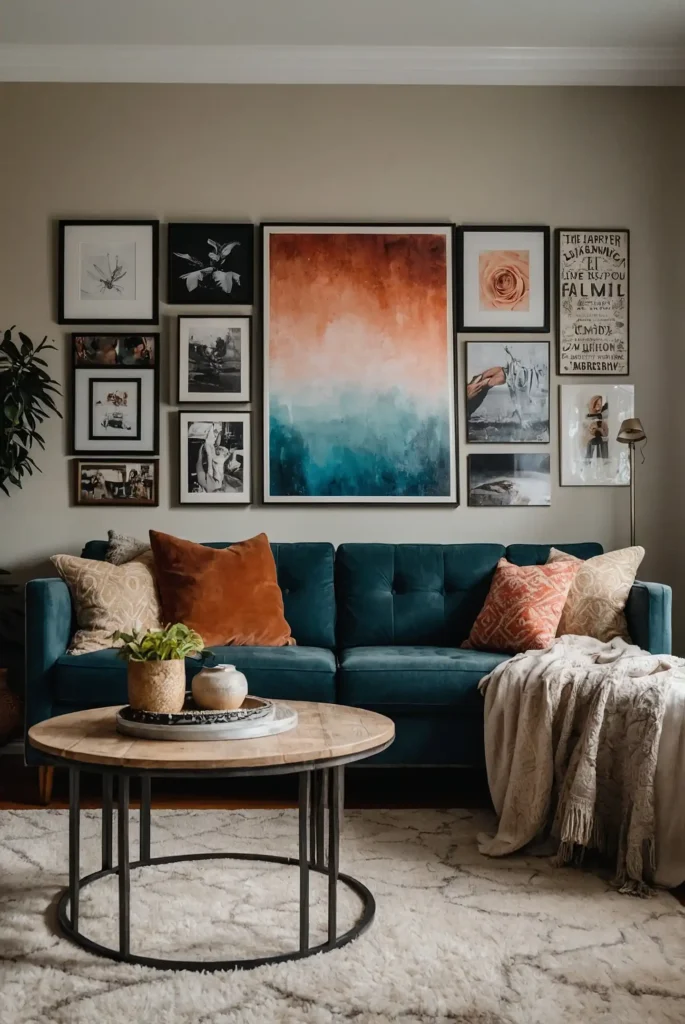
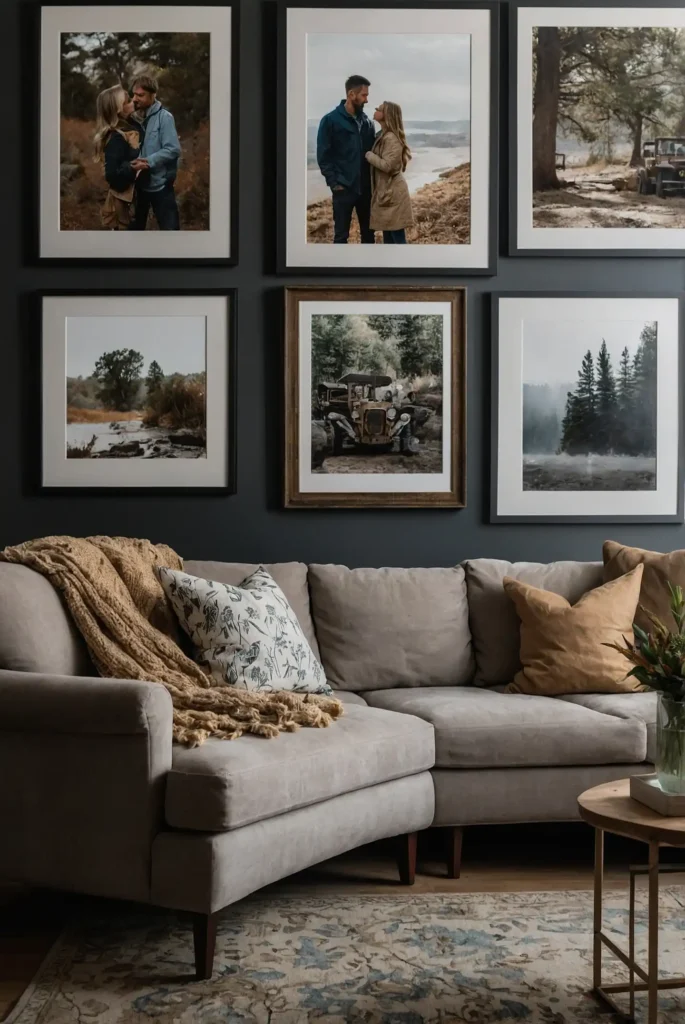
19: Oversized Statement Portrait
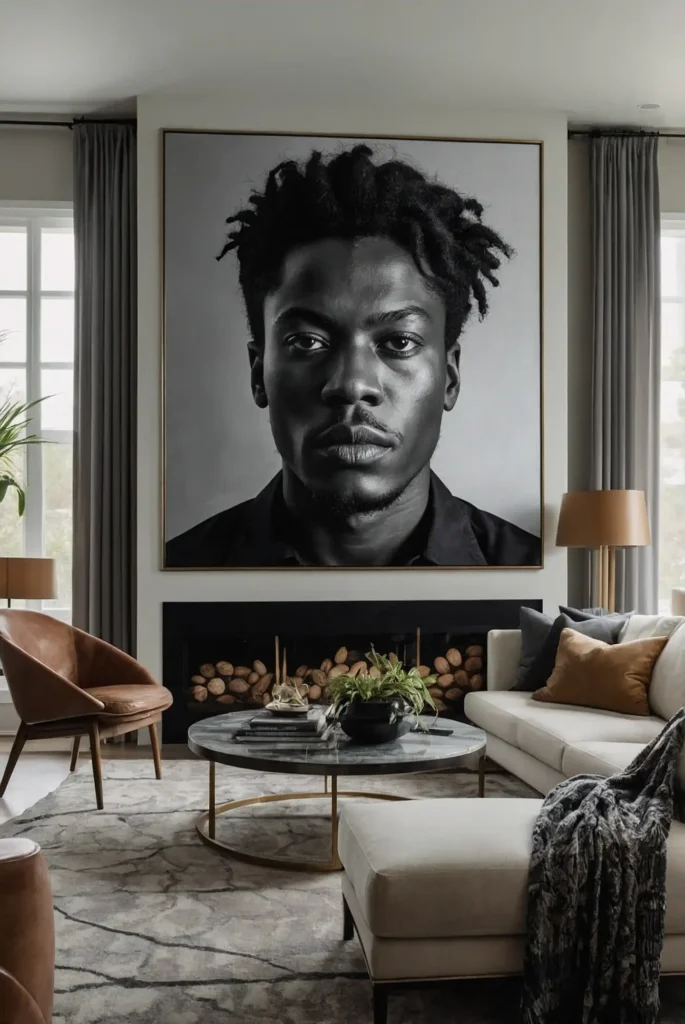
Feature one dramatically large family portrait as a room’s focal point, surrounded by smaller complementary images.
The size hierarchy creates visual interest and emphasis.
This approach clearly communicates which memory holds special significance.
Choose your most professionally shot or emotionally meaningful photo for the central position.
20: Window Frame Photo Display
Repurpose an old window frame as a unique photo display by placing images behind each glass pane. The architectural element adds character to your family photos.
This upcycled approach brings vintage charm to modern photographs. The window structure naturally creates an organized grid without additional framing.
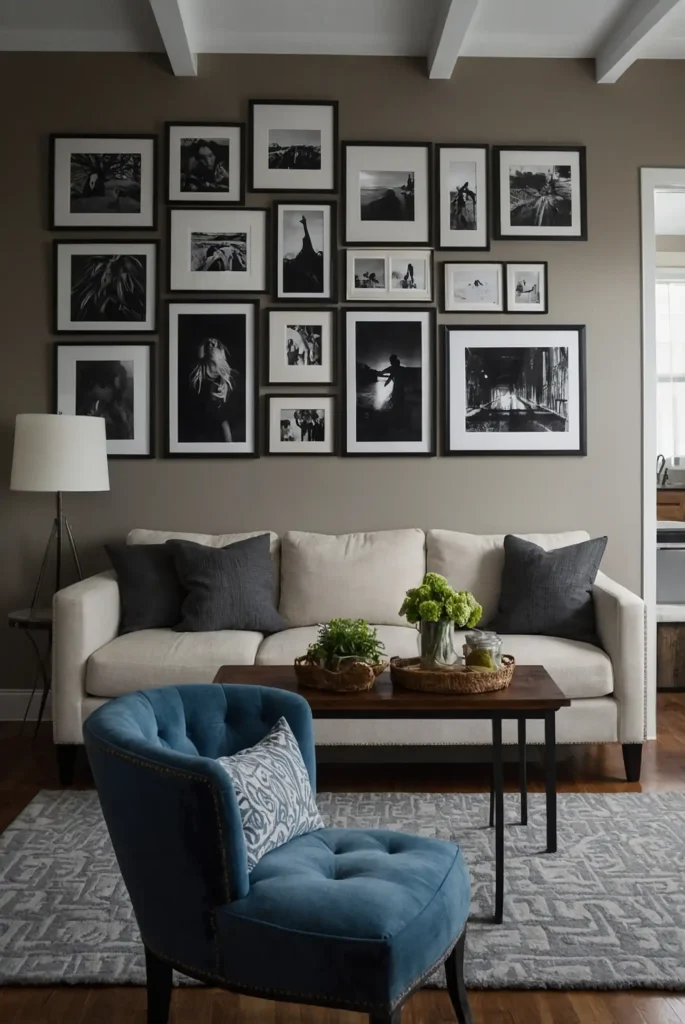
21: Black and White Consistency
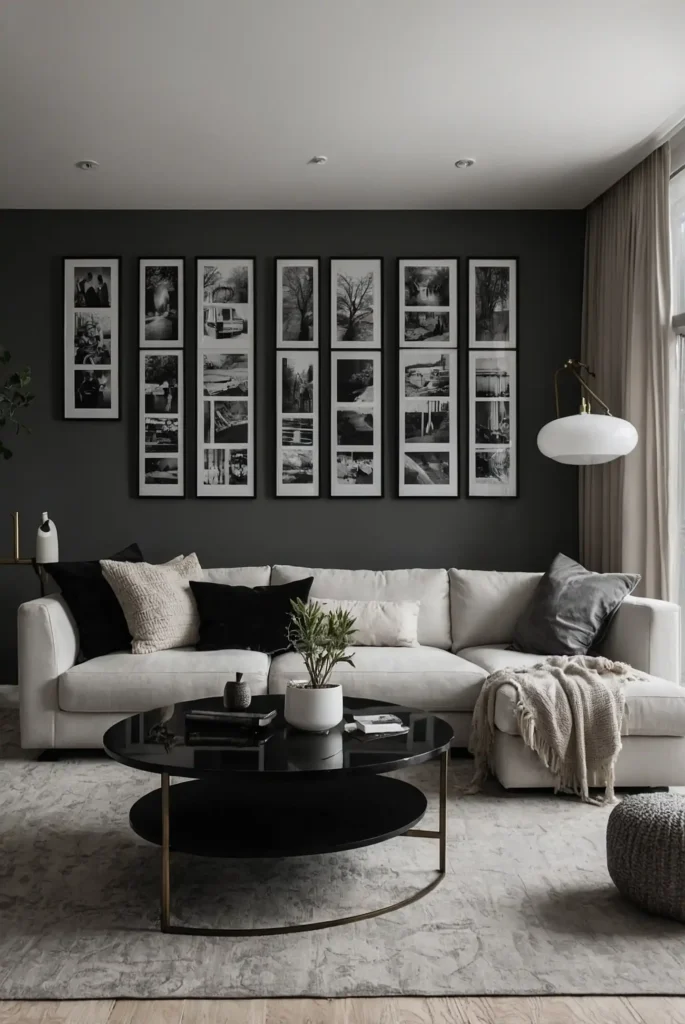
Convert all photos to black and white for a sophisticated, timeless gallery wall.
This creates visual consistency even with photos from different eras and settings.
The monochromatic approach elevates casual snapshots to artistic portraits. This works particularly well in contemporary spaces with minimal color palettes.
22: Nursery Growth Timeline
Create a month-by-month photo display of your child’s first year in their nursery.
The chronological arrangement celebrates their rapid early development.
This becomes both decoration and a precious memory preservation system. Choose simple, identical frames to let the changing baby photos take center stage.
23: Travel Map Photo Integration
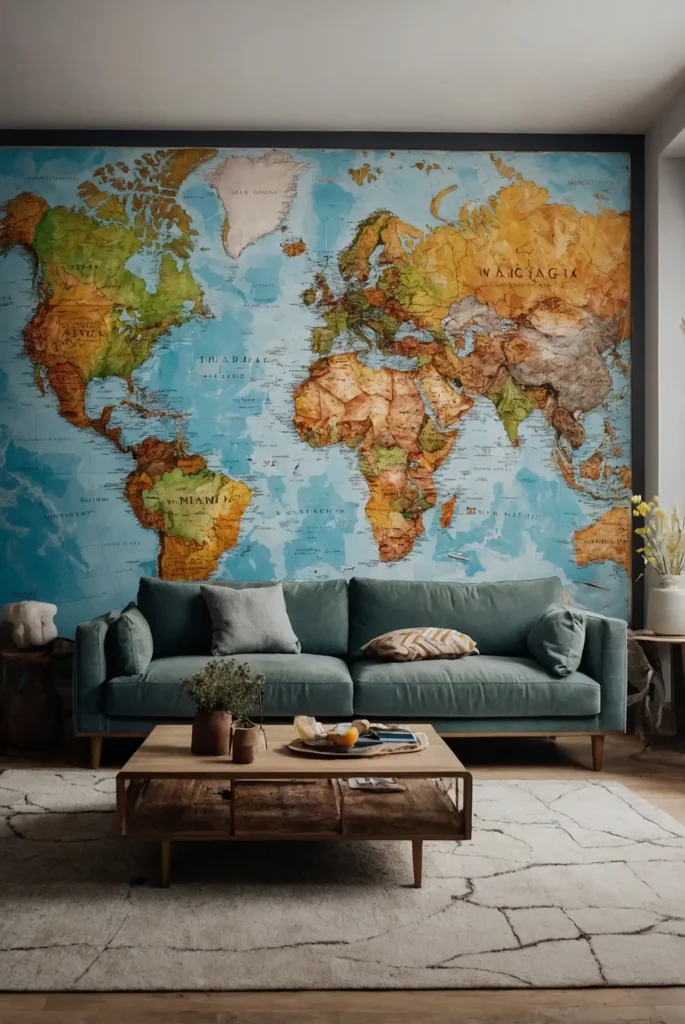
Mount a large world map and surround it with photos from your family travels. Connect each photo to its location with decorative string or pins.
This creates an interactive visual story of your adventures together. The map provides context that enhances the meaning of each surrounding photo.
24: Calendar Grid Arrangement
Organize photos in a monthly grid representing one full year of family memories. Select one standout moment from each month for a yearly recap wall.
This organized approach tells your family’s annual story at a glance. Update yearly to create an evolving display of your continuing journey together.
25: Washi Tape Photo Borders
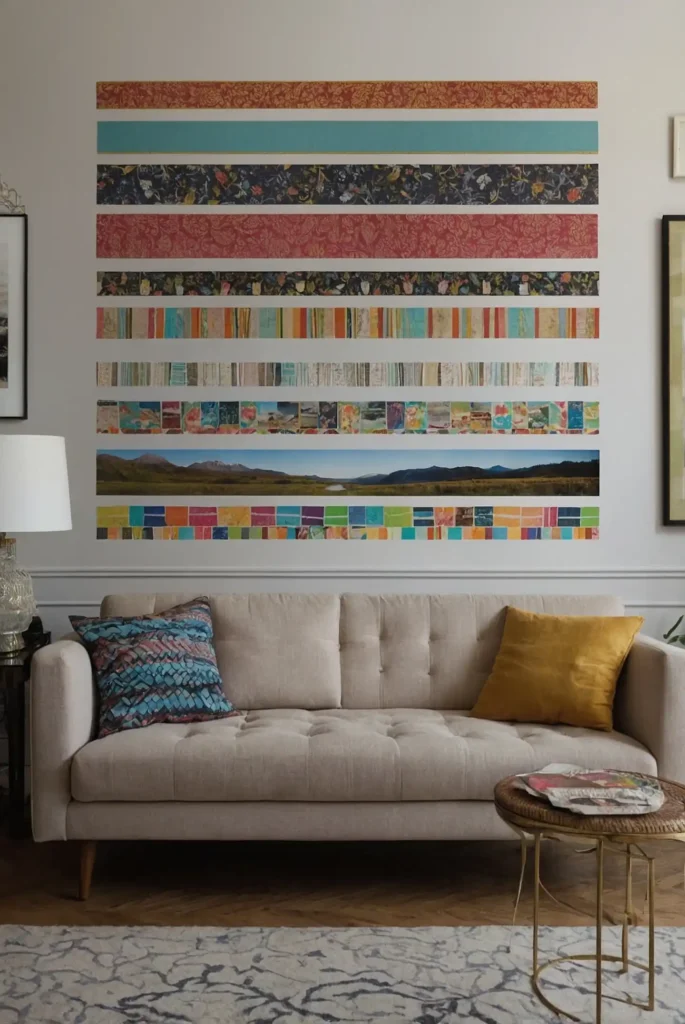
Skip frames entirely and use colorful washi tape to create decorative borders directly on your wall. This playful, low-commitment approach works well in children’s spaces.
The tape frames can be easily changed or removed without wall damage. Mix tape colors and patterns for a youthful, creative display that can evolve frequently.
26: Empty Frame Composition
Create an artistic arrangement using empty frames of various sizes, with family photos mounted inside only select frames.
The negative space becomes part of the artistic statement.
This approach balances visual weight while creating a unique, gallery-worthy installation.
Choose frames in complementary finishes for a cohesive look despite their empty spaces.
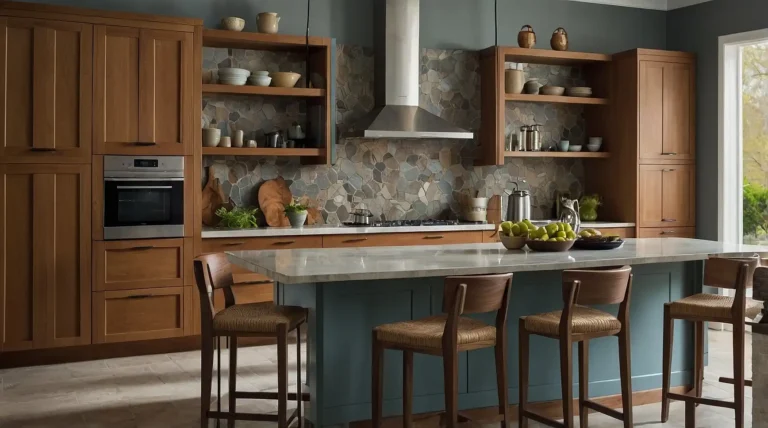
27: Kitchen Cabinet Door Displays
Mount photos on the inside of glass-front kitchen cabinets for an unexpected display location.
This personalizes your kitchen while protecting photos from cooking elements.
The surprise factor delights guests who discover your family memories while reaching for a glass.
This works especially well with vintage family recipe photos.
28: Photo Wall with Digital Integration
Combine traditional framed photos with a digital frame displaying rotating images.
This blends classic display with technology for an expanded visual library.
The changing digital images keep your display fresh amid permanent favorites.
Position the digital frame centrally to serve as a dynamic focal point.
29: Silhouette Photo Series
Create a series of family member silhouette portraits in identical frames. This artistic approach transforms ordinary photos into graphic art pieces.
The simplified silhouettes create a strong visual impact through their uniformity. This works beautifully with profiles of children at different ages.
30: Hanging Mobile Photo Display
Create a three-dimensional photo arrangement by hanging images at different heights from the ceiling.
This unexpected approach activates the space above furniture.
The gentle movement adds a kinetic element to your photo display.
This works particularly well in children’s rooms or above dining tables.
31: Social Media Gallery Wall
Print and frame your family’s most-liked social media photos in a dedicated collection.
This celebrates the moments that resonated with your broader community.
Include printed comments or like counts as captions for an interactive element.
This contemporary approach bridges your digital and physical family documentation.
Conclusion
Your family photos deserve more than digital storage—they tell your unique story.
Choose a display method that reflects your personality, space, and the memories themselves. Your walls await their transformation!