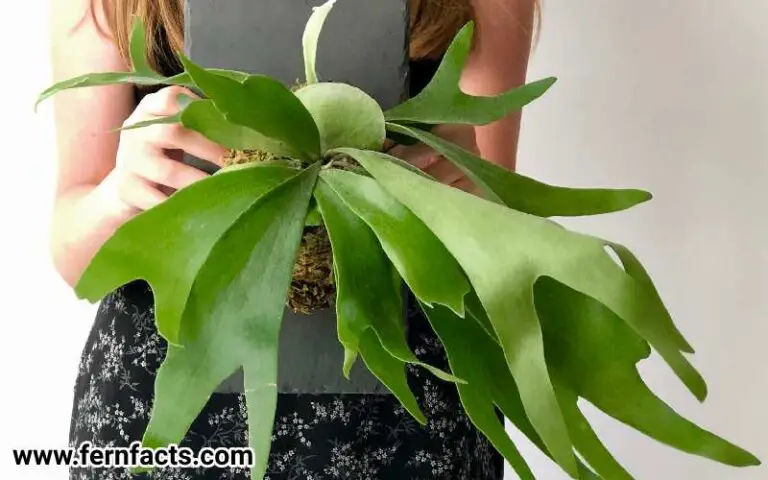
How to Mount Staghorn Fern
If you are a ferns lover then I’m sure you have one staghorn ferns collection in your house. Do you get bored by their typical potting-style decoration?
Want to do some innovative home decor with your staghorn fern? Well, certainly! you can establish a plant-based wilderness in your house with the help of staghorn ferns.
If you want to give your house a new look with these staghorn ferns then follow this article. In this article, I’ll tell you how you can mount your staghorn ferns along with, overall ideas about staghorn ferns and its post-care routine.
By following these mounting steps, you can easily intensify your staghorn ferns into a new fancy form.
Overview of Staghorn Ferns
- Botanic name: Platycerium bifurcatum
- Common names: elkhorn ferns, staghorn ferns
- Family: Polypodiaceae
- Genus: Platycerium
- Plant: Perennial evergreen
- Native range: Java, New Guinea, Eastern Australia, South Wales, Queensland
- Height: around 35 inches
- Width: around 31 inches
- Shade: Partial
- Soil: acidic, neutral
- Hardiness zone: 9,10,11,12
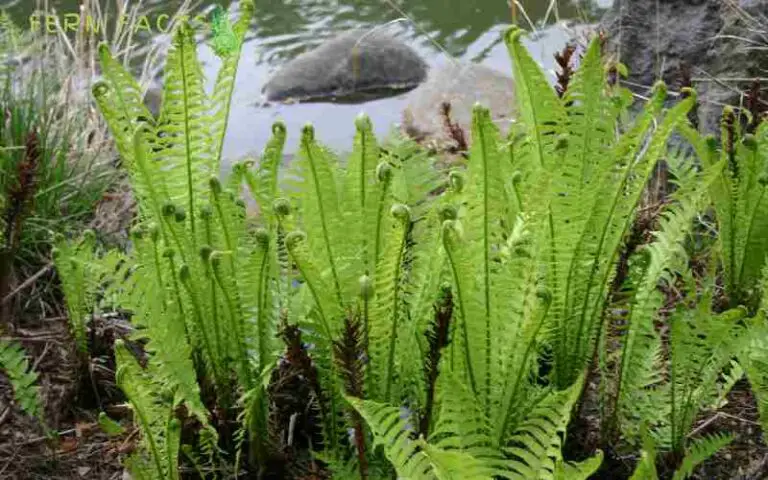
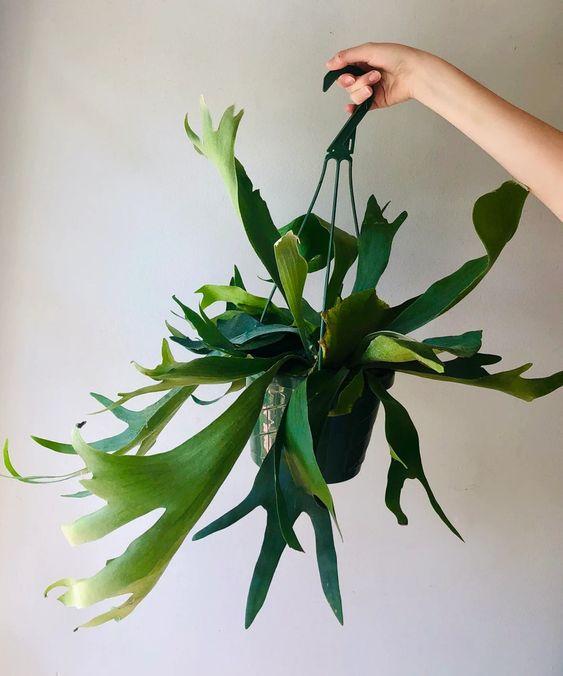
Staghorn Ferns are renowned perennial evergreen ferns that basically look like deer or elk antlers with heart-shaped arching fronds. These ferns are very frequent to grow and plant as home cultivation.
These staghorn ferns have unique heart-shaped fronds around 12 to 45 cm long. Their gray-green arched fertile also resemble a horn shape or forked, strapped shape which spread usually 90 cm long.
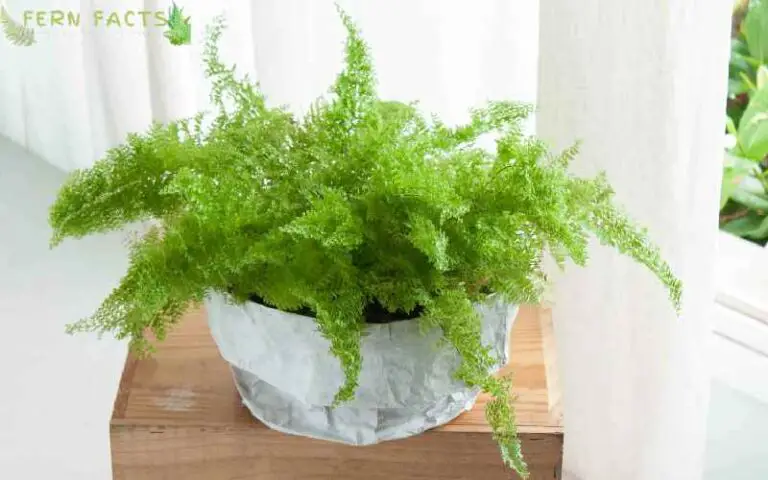
You can grow these ferns on wood planks or any hanging baskets. Furthermore, these staghorn ferns thrive in a subtropical natural environment such as a dappled atmosphere, moisture, and indirect sunlight.
Since they are ornamental plants, they can be modified in various ways which will enhance your house look. Currently, 17 species of these ferns exist throughout the world.
Nevertheless, these ferns can be bothersome for you since they are quite invasive plants if they are grown outside, especially in Florida and Hawaii under a warm atmosphere.
For that reason, you need to be extra cautious about their maintenance issue.
What Will You Need- Tools and Equipment
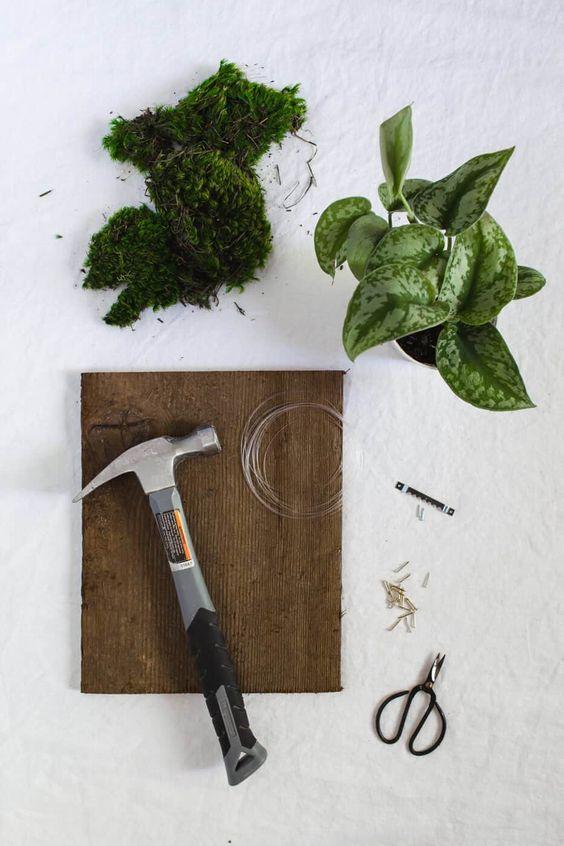
Before starting the mounting process, you will need some pre-tools and some primary essentials to fulfill this process.
So in this process, you will require one staghorn fern, driftwood or mounting board (traditional flat wooden board), green moss, drilling machine, hammer, rope, screwdriver, etc.
By the time you collect this process, you will immediately start your mounting process.
Mounting Staghorn Fern: Step-by-step
Step 1: Take Your Staghorn Ferns
First, choose your healthy bushy staghorn fern for mounting. Healthy and lush bushy ferns will be a great choice for mounting. It will already double the boost automatically after the mounting process.
Step 2: Prepare the Mount Board/ Driftwood
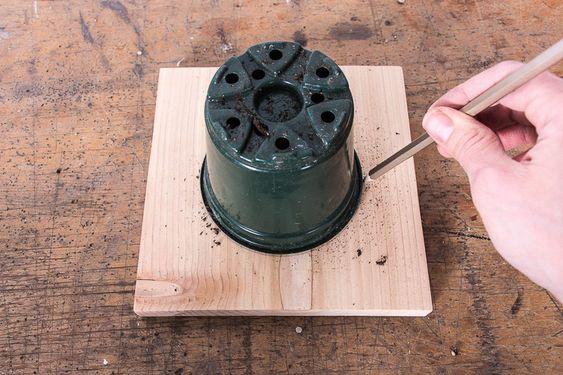
In the second step, you need to prepare the mounting board. So here make a circle on the board or on the Driftwood. Make a 6 to 7-inch circle there.
It will give you an overall look at where you want to mount. You can also use a bowl to do that circle properly
Step 3: Nailing With a Hammer
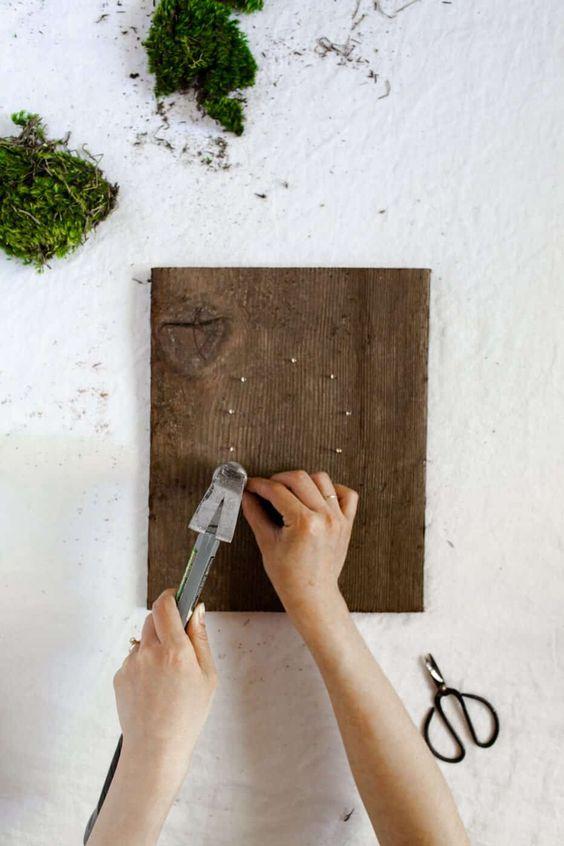
After circling on the wood, now nail the circle. Just simply use 6 to 7 nails and a hammer to set those nails on the circle edges. All these nails will secure your staghorn ferns from falling.
Step 4: Take Out the Roots of Staghorn Fern
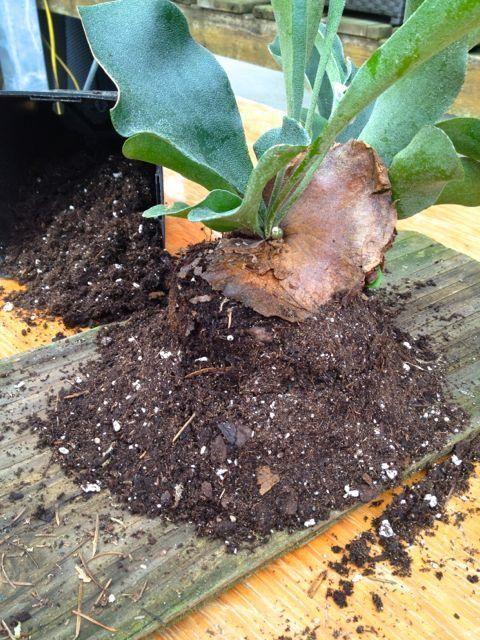
Now, you have to remove your ferns from the pots. After removing them, you need to prune off their edges. Try to remove generous amounts where only their roots are covered with soil.
Remove the excess soil from the plant.
Step 5: Add Grass Moss to the Circle
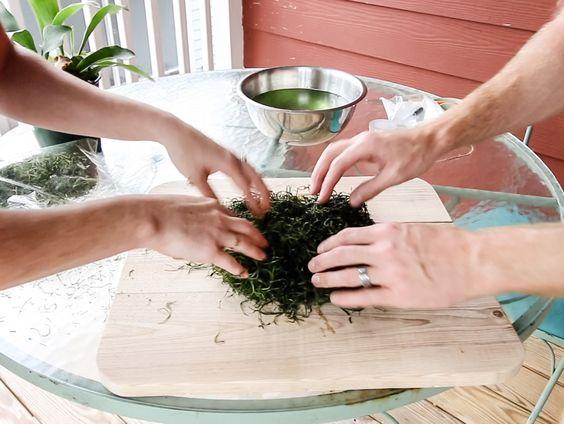
Then, use grass moss around the plant. It will hold the plants in place. It will also help the plant to remain hydrated as well. Press the moss gently in the circle so that it gets adjusted there thoroughly.
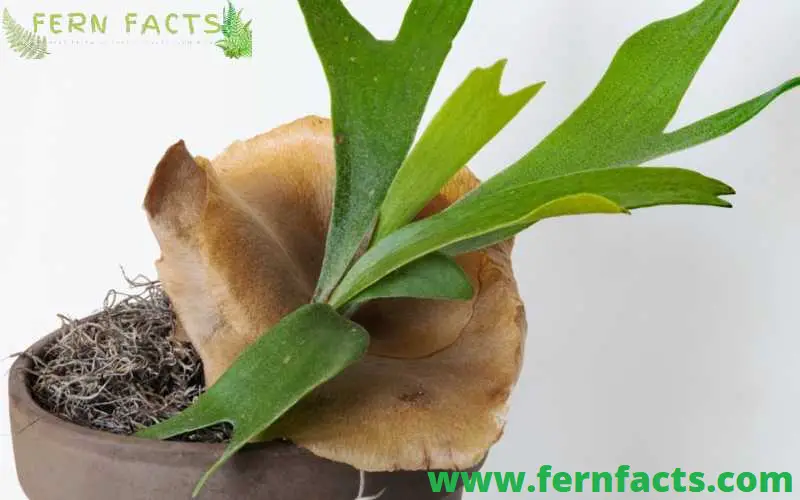
Step 6: Place Your Ferns on the Mount Board
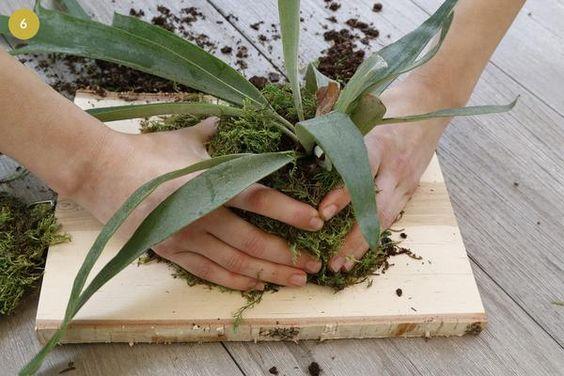
After that, you need to put your staghorn ferns on the circle where you have already nailed it. Gently adjust your plants in the circle.
Press it with your hand to adjust the grass moss and roots altogether. Make sure you have covered all the roots inside of the grass moss.
Step 7: Settle the Plant With Thread
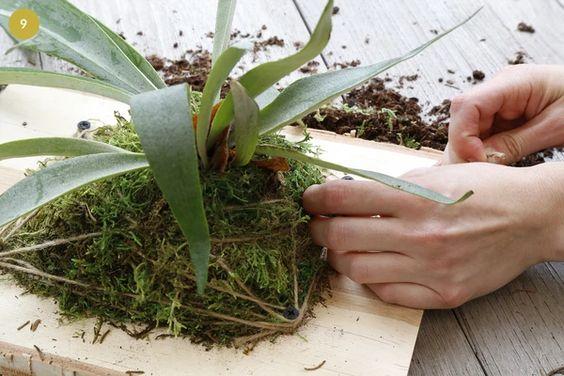
Now you have to use twine or thread to secure your plant even more. You can use any rope, thread, or twine that is affordable to you.
Just, take a thread and do a zig-zag all over the plants while wrapping them in the nails.
Step 8: Make Two Holes on Edges of the Board
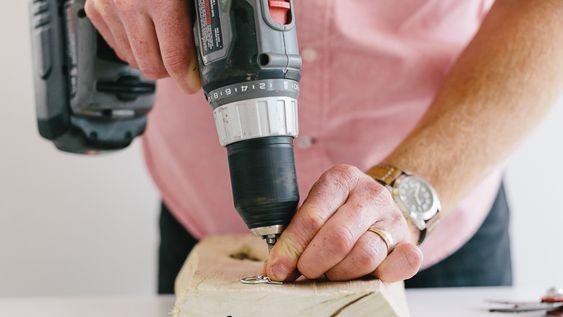
Now take another nail and your hammer. On the opposite side of the board, nail it with a hammer for hanging purposes.
Alternatively, you can also drill the board or driftwood. Insert twine or rope in the hole and make a knot there.
Step 9: Hang It to the Wall
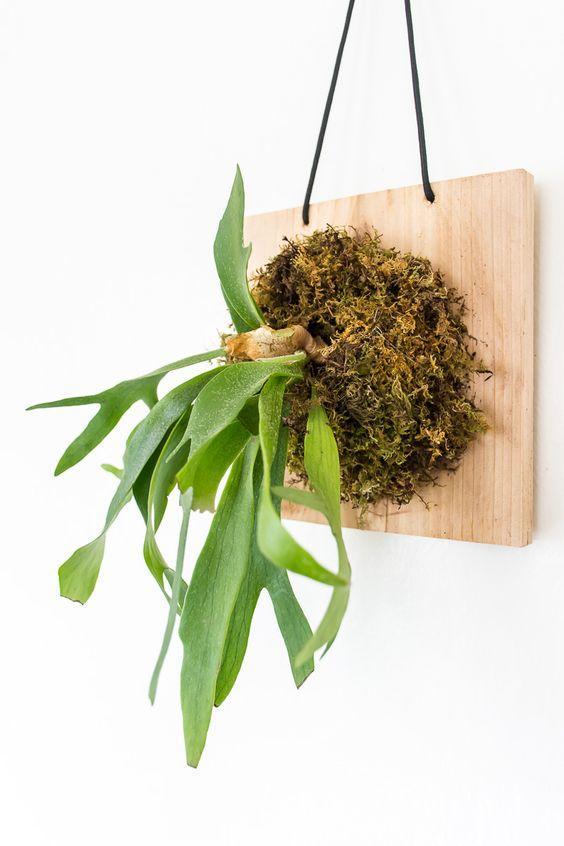
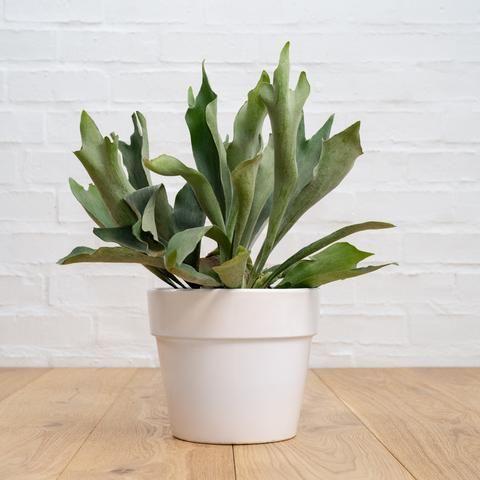
After Nailing, you can hang your mounting staghorn fern on the wall. Just choose a perfect well shaded place where they can get indirect filtered sunlight.
Post Care for Mounted Staghorn Ferns
Well, after mounting the staghorn fern, you need to follow the basic routine of their growing requirements. Just place them in such a place where they can get indirect direct dappled sunlight.
Similarly, for watering your mounted staghorn fern, you can simply water the moss once a week. Regularly check whether the moss is completely dry out or not. Don’t overwater the grass moss; it can cause root rot. Continuously check before you are watering the mounted staghorn ferns.
Only water the plant when the moss is fully dry out. Alternatively, you can also soak the whole wood or board in the water bucket for 10 to 15 minutes.
It’s also another good method to hydrate your mounted ferns. Give them a gentle misting twice a week to retain the hydration of the fronds as well.
To ensure their shape and growth, do a seasonal pruning and trimming. Simply remove the dead or burn fronds to keep them healthy and disease-free.
Closing Statement
On a final thought, Staghorn ferns are a renowned indoor decorating plant for gardeners. For that reason, you can utilize these staghorn ferns for multiple purposes in your house.
by following the above-mentioned simple and easy steps, you can enhance your house’s beauty with these staghorn ferns. Thus, you can give this fern several decorative forms in your garden with the right directions and guidance.