How To Propagate Boston Fern? – Easy Growth Secrets
Propagate Boston Fern by dividing the plant or rooting the runners. Use a sharp knife for division and moist soil for runners.
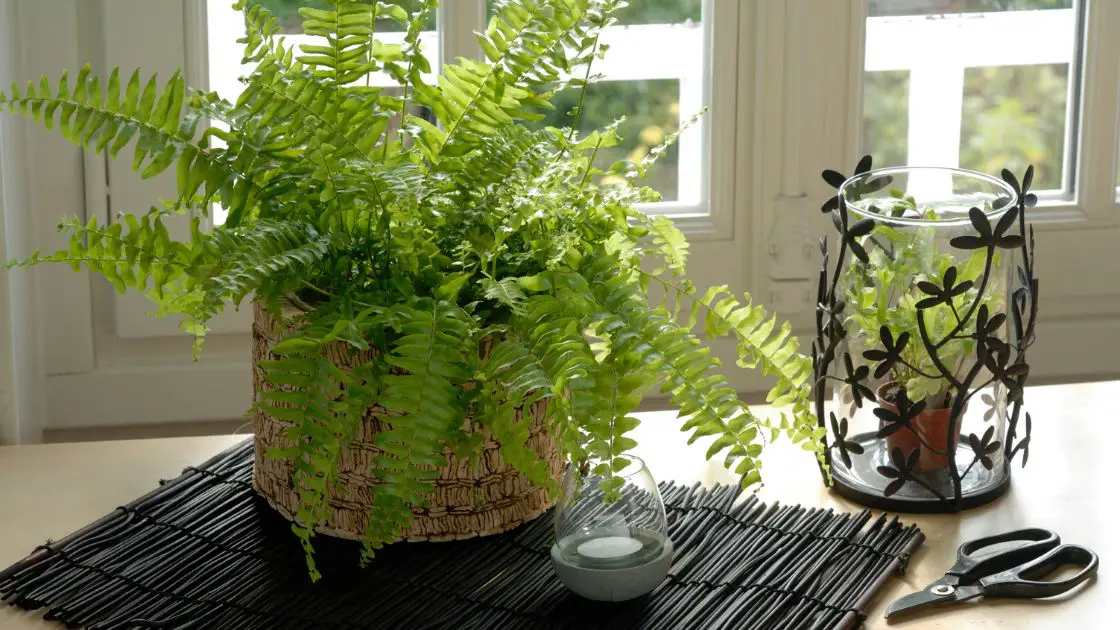
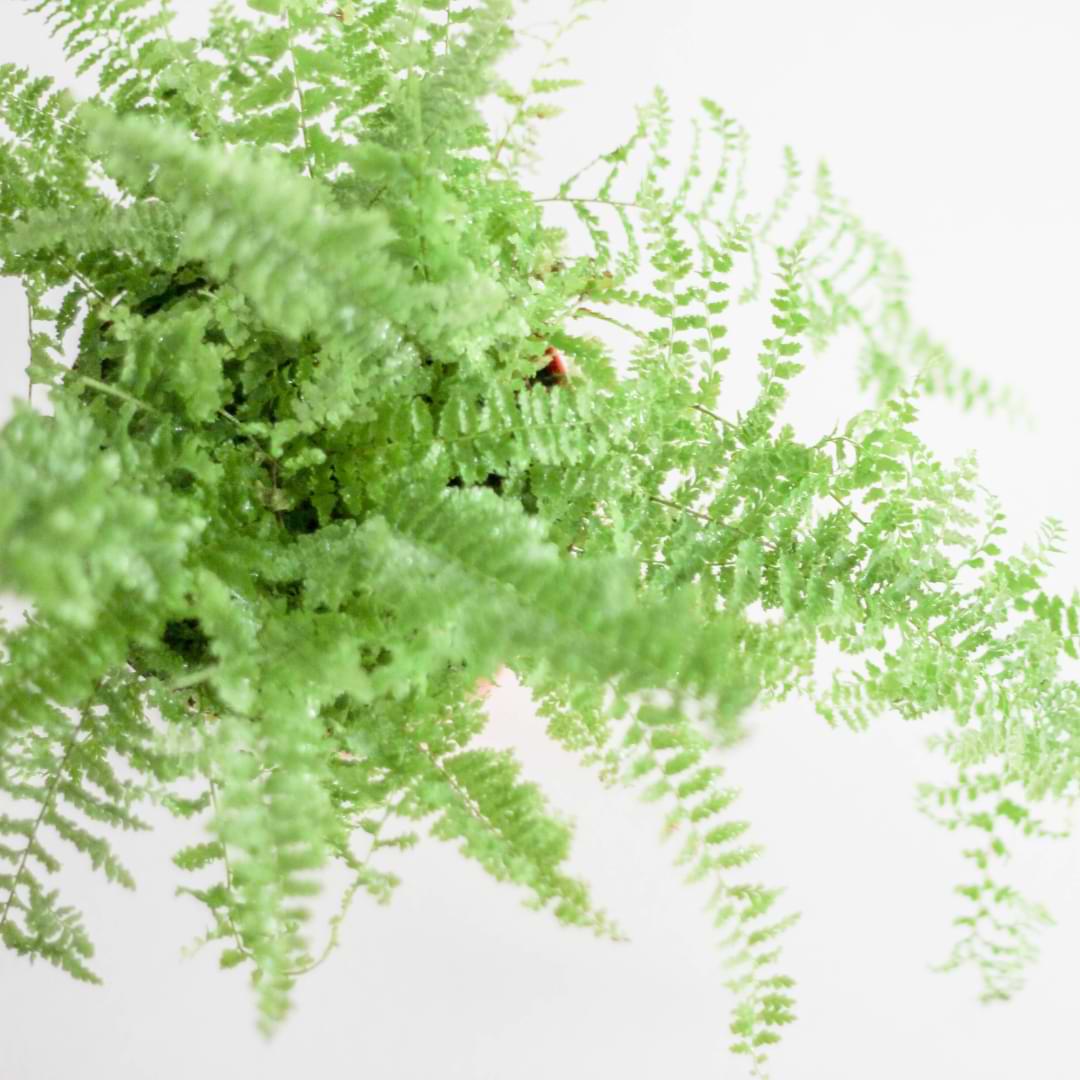
Boston Ferns, known for their lush foliage and classic appearance, are a favorite among indoor plant enthusiasts.
They add a touch of greenery to any space and are relatively easy to propagate. The propagation process can be a fulfilling project for gardeners of all levels.
Following simple steps, one can create new plants and expand their collection. Successful propagation ensures the longevity of your Boston Ferns, allowing you to enjoy their beauty for years to come.
This guide provides the essential information needed to multiply your Boston Ferns effectively and maintain their vibrant growth.
Choosing The Right Method
Choosing the Right Method for propagating your Boston Fern is crucial for success. Each method has its benefits and requirements.
Whether you’re a beginner or a seasoned gardener, understanding the different propagation techniques will help you easily expand your fern collection.
Let’s dive into the methods to find which suits you best.
Division
Division is the simplest and quickest way to propagate Boston Ferns. It’s best done in spring when the plant is actively growing. Follow these steps:
- Remove the fern from its pot.
- Find natural separations in the root ball.
- Gently pull the sections apart.
- Plant each division in fresh potting soil.
Ensure each new plant has roots and a few fronds. Water them well after potting.
Also Read: All About Fiddle-Leaf Fig Trees
Spores
Propagating Boston Ferns from spores is a more advanced method. It requires patience, as it takes longer.
Here’s a brief overview:
- Collect spore-laden fronds.
- Place them on a piece of paper to dry.
- Shake spores onto a moistened growth medium.
- Cover with plastic to maintain humidity.
Keep the spores in indirect light. In several weeks, tiny ferns should appear.
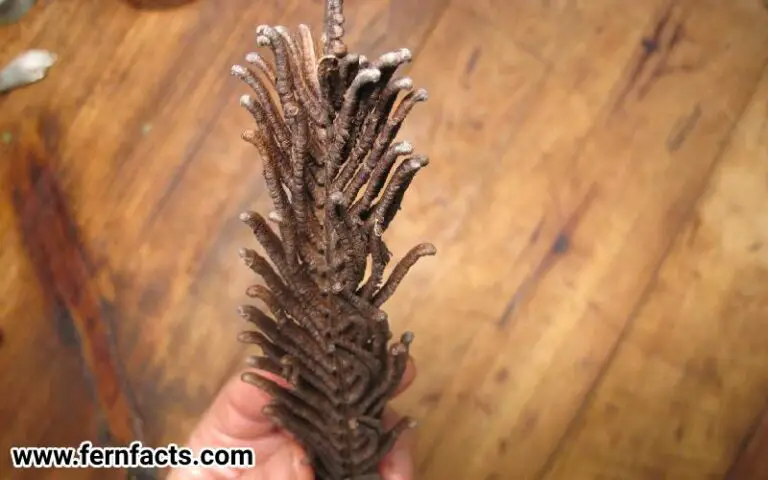
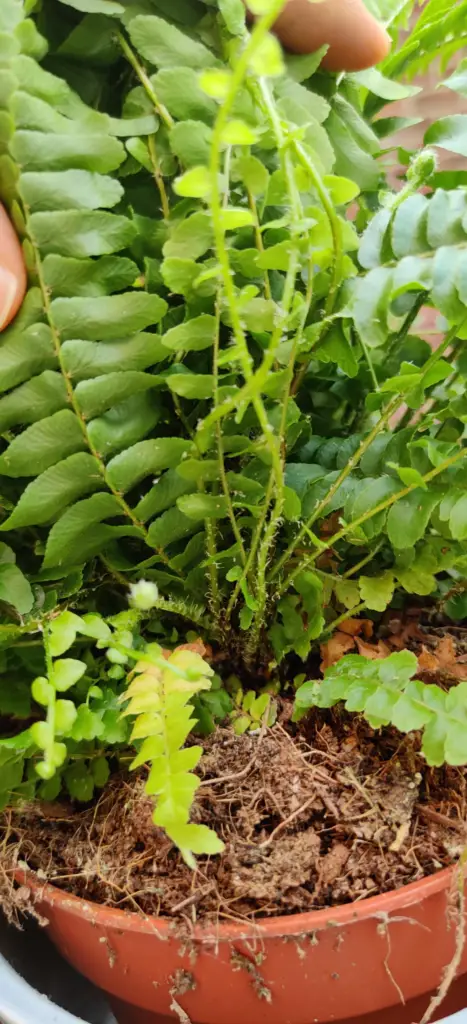
Stolons
Boston Ferns can also spread through stolons, which are long, skinny shoots that grow out from the base.
To propagate:
- Identify a healthy stolon with a few leaves.
- Secure the stolon to moist soil using a hairpin.
- Wait for roots to form at the stolon’s nodes.
- Cut from the mother plant and pot separately.
Keep the soil moist and provide bright, indirect light.
Preparing For Propagation
Are you ready to multiply the lush greenery of your Boston Fern? Preparing for propagation is the first step.
This guide will ensure you have everything in place to propagate Boston Fern easily.
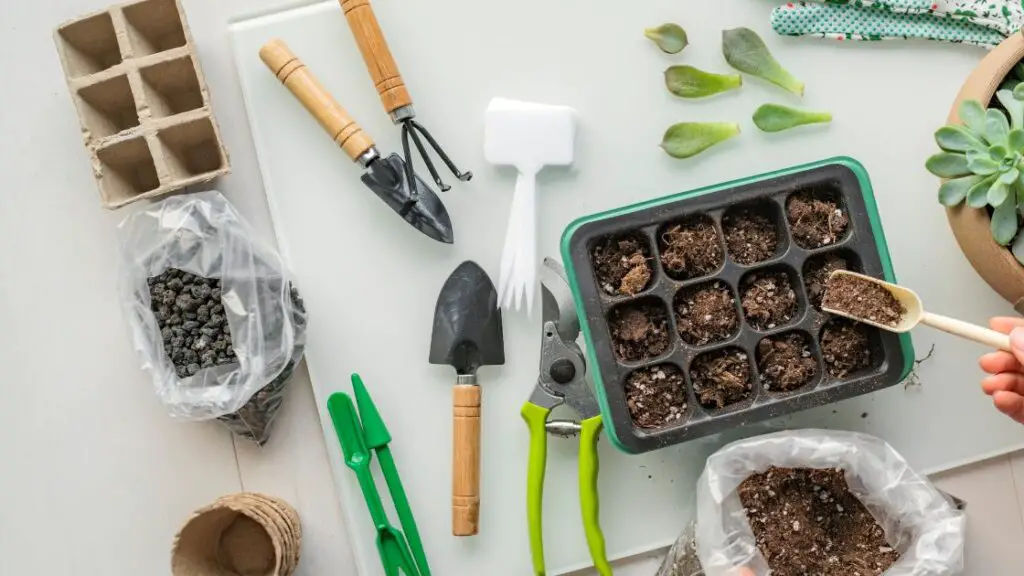
Tools And Materials Needed
Before diving into the propagation process, gather the following tools and materials:
- Sharp scissors or pruning shears for clean cuts.
- Small pots with drainage holes for new plants.
- Potting mix, preferably a peat-based or similar blend.
- Watering can or spray bottle to keep the soil moist.
- Gloves to protect your hands during the process.
- Rooting hormone (optional) to encourage root growth.
Ideal Timing For Propagation
Timing is crucial when propagating Boston Fern. The best time is during the spring or early summer, when this period offers optimal growing conditions for new ferns.
Here’s why:
| Season | Temperature | Light | Growth Rate |
|---|---|---|---|
| Spring/Early Summer | Mild | Increasing Daylight | Peak |
During this season, your Boston Fern will have the energy to recover from the propagation and sustain new growth.
Aim for a day when the weather is warm, and the soil is moist. This creates an ideal environment for the new plants to thrive.
You also read this article: Kimberly Queen Fern vs Boston Fern: 8 Major Differences
Propagation Steps
Propagating a Boston Fern is simple and rewarding. It can be done through division, spore, and stolon methods, each suitable for different levels of gardening experience.
Let’s examine the steps for each method.
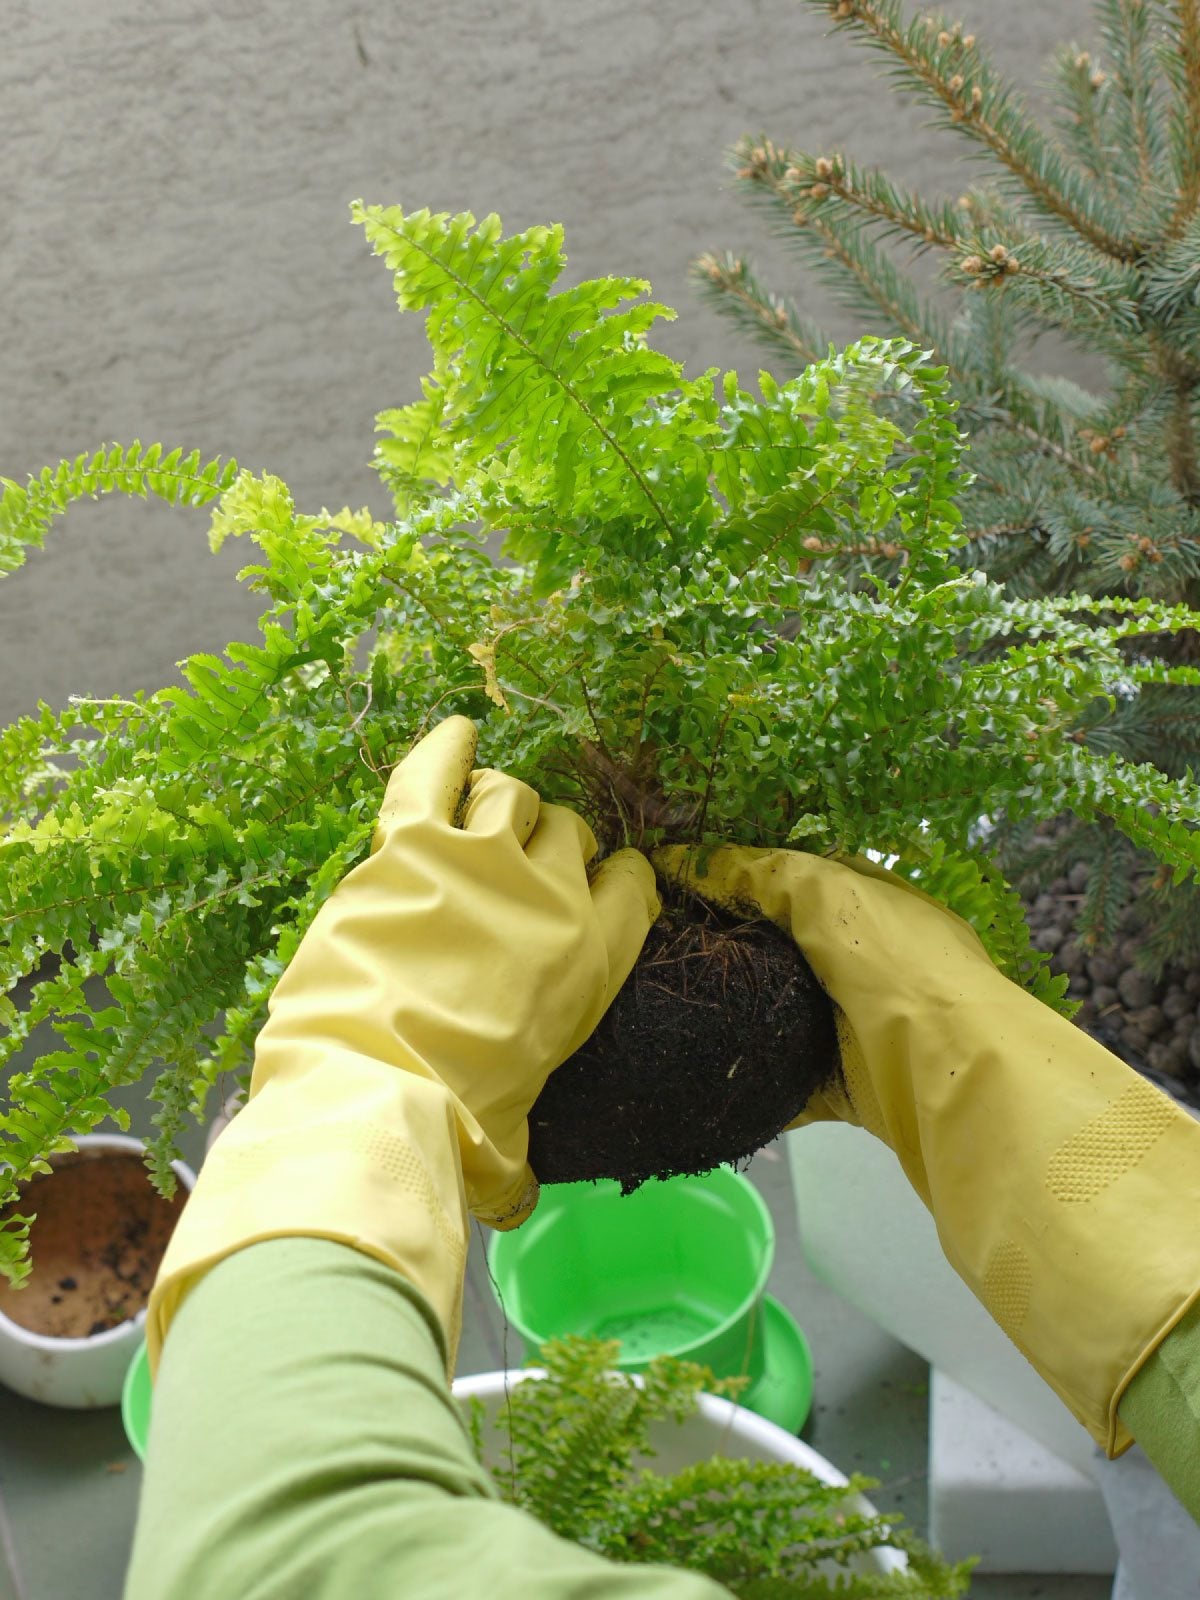
Step 1: Division
Division is the easiest way to propagate Boston Ferns. Follow these steps:
- Gently remove your fern from its pot.
- Identify natural divisions in the root ball.
- Use your hands or a knife to separate the divisions.
- Plant each division in its own pot with fresh potting soil.
- Water thoroughly and keep the soil moist.
This method ensures quick growth and healthy plants.
Step 2: Spore Propagation
Spore propagation is fascinating but takes patience. Here’s how to do it:
- Collect spores from the underside of a mature fern’s fronds.
- Sow spores on the surface of a moist, sterile potting mix.
- Cover the container with plastic to keep humidity high.
- Place in indirect light and wait for growth.
This method requires several months to a year to see growth.
Step 3: Stolon Propagation
Stolon propagation uses the runners that grow from the parent plant. Here are the steps:
- Locate a stolon with small fernlets growing on it.
- Pin the stolon into a nearby pot filled with soil, keeping the parent connection.
- Once roots develop, cut the connection from the parent.
- Allow the new plant to establish itself before transplanting.
This method is great for expanding your fern collection quickly.
Each propagation method offers a unique way to multiply your Boston Ferns. Choose the one that best fits your time availability and comfort level with plant care.
Caring For Newly Propagated Plants
Propagating Boston Ferns marks the beginning of a rewarding journey. After successful propagation, the real work begins.
Young ferns need the right care to thrive. This section focuses on the essentials: light, temperature, water, and nutrients.
Light And Temperature Requirements
Newly propagated Boston Ferns require careful attention to light and temperature. They prefer bright, indirect sunlight, as direct sun can scorch their delicate fronds. A north—or east-facing window is ideal.
Keep the temperature consistent. For optimal growth, aim for 60-75°F (15-24°C). Avoid drafty spots and sudden temperature changes.
Watering And Feeding Guidelines
Water is crucial for young ferns. Keep the soil consistently moist but not soggy. Use a watering can with a gentle spray.
This prevents disturbing the soil or damaging fronds. Check the top inch of soil before watering. If it feels dry, it’s time to water.
Feed your ferns with a balanced, water-soluble fertilizer. Administer once a month during the growing season. In winter, feeding is reduced as growth slows down. Always follow the recommended dosage on the fertilizer package.
| Boston Fern Care Summary | |
| Aspect | Care Instruction |
|---|---|
| Light | Bright, indirect sunlight |
| Temperature | 60-75°F (15-24°C) |
| Watering | Keep soil moist, not soggy |
| Feeding | Monthly with balanced fertilizer |
- Check light: Ensure indirect sunlight.
- Maintain warmth: Stable temperatures are key.
- Regular watering: Soil should stay moist.
- Monthly feeding: Use balanced fertilizer.
Following these guidelines will give your propagated Boston Fern the best start in life. With proper care, they will grow into lush, green beauties that purify your home’s air and bring a touch of nature indoors.
Common Issues And Troubleshooting
Propagating Boston Fern can be rewarding but comes with its challenges. Understanding common issues helps ensure success. Let’s troubleshoot and keep those ferns flourishing.
Overwatering
Overwatering is a frequent misstep in Boston Fern care. Signs include yellowing leaves and a soggy base. To fix this:
- Check the top inch of soil. If wet, wait before watering again.
- Ensure pots have drainage holes.
- Use well-draining soil to prevent water-logging.
Adjust watering schedules according to humidity and temperature.
Pests And Diseases
Boston Ferns may attract pests or succumb to disease. Common culprits include:
| Pest/Disease | Signs | Solution |
|---|---|---|
| Spider Mites | Fine webs, speckled leaves | Wipe leaves, use insecticidal soap |
| Scale Insects | Brown bumps on leaves | Scrape off, apply neem oil |
| Fungal Infections | Black spots, wilting | Improve air circulation, reduce moisture |
Regularly inspect ferns for early intervention. Isolate affected plants to stop the spread.
Tips For Successful Propagation
Unlock the secrets to creating new Boston Ferns with these expert propagation tips. Every plant enthusiast dreams of a thriving, verdant Boston Fern. Let’s dive into the essentials for turning one fern into many with successful propagation strategies.
Maintaining Humidity
Boston Ferns love moisture, and when propagating, humidity is key. Here’s how you can maintain the right environment for your fern cuttings to flourish:
- Use a plastic bag or propagation chamber to humidify the air around your fern cuttings.
- Keep the soil moist but not waterlogged to encourage root growth.
- Place the fern in a location where the temperature is consistent and warm, avoiding cold drafts.
Remember, a humid environment mimics the natural habitat of the Boston Fern, making it feel right at home.
Regular Monitoring
Propagation is not a set-and-forget process. Your Boston Fern cuttings need regular checks to ensure they’re on the right track. Here are some tips for effective monitoring:
- Check the soil’s moisture level every few days to prevent it from drying out.
- Look for signs of new growth, such as small fronds or roots, which indicate success.
- Be on the lookout for signs of disease or pests, and take action immediately if necessary.
By keeping a watchful eye and adjusting care as needed, you’ll increase the chances of a successful propagation.

Frequently Asked Questions
How To Propagate A Boston Fern From Cuttings?
Select a healthy frond and cut a 4-inch piece to propagate a Boston fern from cuttings. Plant the cutting in moist soil, ensuring the cut end is submerged. Keep the soil damp and in indirect light until roots develop.
Can Ferns Be Grown From Cuttings?
Unlike many other plants, ferns typically do not grow from cuttings. Instead, they reproduce through spores or by dividing the root ball.
What Do Boston Fern Runners Look Like?
Boston Fern runners, also known as stolons, are slender, vine-like growths that extend outward from the main plant. These green, wiry tendrils can sprout new fern plants when they come into contact with soil.
Do Boston Ferns Grow Back If You Cut Them?
Yes, Boston ferns can regrow after cutting. Trim damaged or old fronds at the base to encourage new growth. Regular pruning helps maintain their lush, vibrant appearance.
Conclusion
Propagating Boston ferns can be simple and rewarding. New, lush ferns will soon thrive in your space with the right care and patience.
Remember, consistent moisture and warmth are key. Embrace the process and enjoy the green bounty of your efforts.
Happy gardening!