How to Grow Ferns in Water: Hydroponic Tips
You can grow ferns in water by placing the roots in a water-filled container and ensuring indirect sunlight. Change the water weekly to prevent stagnation.
Growing ferns in water is an easy and rewarding process. These plants thrive in moist environments, making them ideal for hydroponic growth.
Choose a suitable container, preferably glass, to monitor water levels and root health. Fill it with clean water, submerging roots while the fronds stay above the surface.
Place the container in indirect sunlight, as direct sunlight can harm the delicate fronds. Regularly change the water to keep it fresh and oxygenated.
Ferns in water are low-maintenance and add a touch of greenery to any indoor space.
Choosing The Right Ferns
Growing ferns in water can be a delightful experience. You need to choose the right ferns to succeed. This ensures they thrive and look beautiful in your home.
Let’s explore the types of ferns that grow well in water and where to get them.
Types Of Ferns That Grow Well In Water
Some ferns adapt better to water than others. Here are a few popular choices:
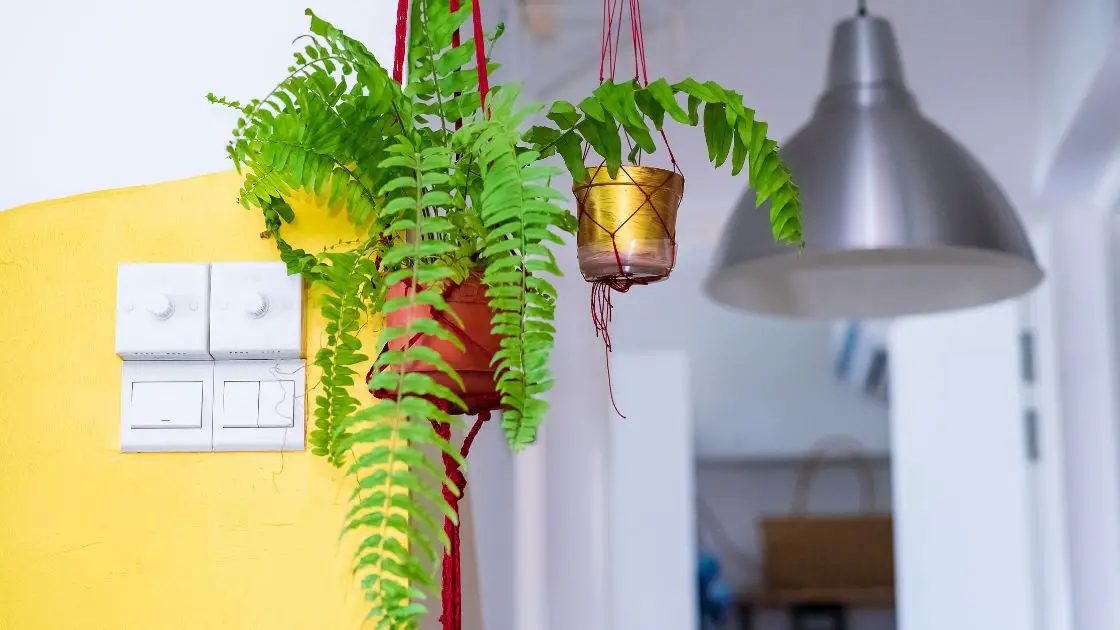
- Boston Fern – Known for its lush, arching fronds.
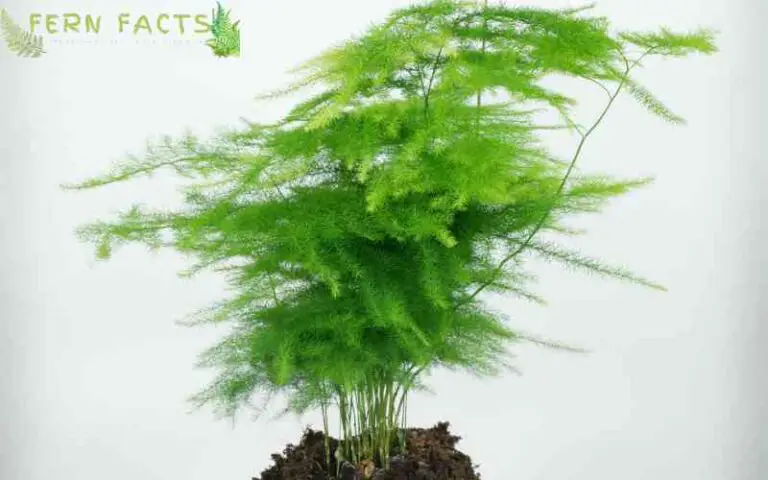
- Maidenhair Fern – Delicate and elegant with feathery leaves.
- Water Sprite Fern – Great for both aquariums and pots.
- Java Fern – Often used in aquascaping for its hardiness.
- Cretan Brake Fern – Features thin, wispy leaves.
Where To Get Ferns
Ferns can be sourced from a variety of places. Here are some options:
- Local Garden Centers – They offer a range of healthy, potted ferns.
- Online Nurseries – Convenient for rare and exotic fern species.
- Plant Swaps – Connect with fellow plant lovers and exchange ferns.
- Home Improvement Stores – Often have a garden section with ferns.
- Friends and Family – Sometimes, they have ferns to spare.
Choosing the right ferns and knowing where to get them sets the foundation for a thriving water garden. Happy planting!

You can also read: Monstera Leaves Browning: Revive Your Plant Now!
Preparing The Water
Growing ferns in water can be an exciting project. One important step is preparing the water. The right water helps ferns grow healthy and lush. Let’s dive into the details.
Filtered Water Vs. Tap Water
Filtered water is often the best choice for growing ferns in water. It removes harmful chemicals like chlorine and heavy metals that can harm your plants.
Tap water can be used, but it’s important to let it sit for 24 hours. This allows chlorine to evaporate, making it safer for your ferns.
Here’s a quick comparison:
| Type of Water | Benefits | Drawbacks |
|---|---|---|
| Filtered Water | Removes harmful chemicals | Requires a filter |
| Tap Water | Readily available | Needs to sit for 24 hours |
Adding Fertilizer
Fertilizer is crucial for ferns growing in water. It provides essential nutrients that may not be present in water alone.
Use a water-soluble fertilizer designed for houseplants. Add it to the water once a month, following the instructions on the package for the correct amount.
Here are steps to add fertilizer:
- Choose a water-soluble fertilizer.
- Read the instructions on the package.
- Measure the correct amount.
- Mix it into the water.
- Add the fertilized water to your fern container.
Remember, too much fertilizer can harm the plants. Always use the recommended amount.
Rooting The Ferns In Water
Rooting ferns in water is a fascinating way to grow these beautiful plants. This method is simple and provides a unique look for your home.
You can easily watch the roots develop and thrive. Let’s explore how to root ferns in water step by step.
Trimming The Roots
First, you need to trim the roots of your fern. You should always use clean scissors or pruning shears to cut away any dead or damaged roots. This helps the fern focus its energy on healthy growth.
Also, make sure to trim just a little bit. Too much trimming can harm the plant. Removing the damaged parts allows new roots to grow quickly, and healthy roots lead to a stronger plant.
Placing The Fern In Water
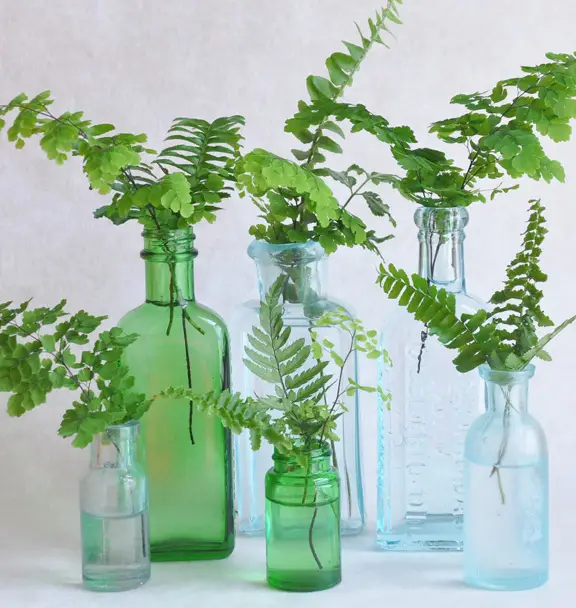
Next, place the fern in a container of water. Choose a clear container so you can see the roots. A glass jar or vase works well.
Fill the container with enough water to cover the roots. Ensure the leaves stay above the water to prevent rotting.
Change the water every few days to keep it fresh. Stagnant water can harm the roots, and freshwater provides the best environment for growth.
Watch the roots grow and enjoy the process.
Keep the container in a spot with indirect sunlight. Too much direct sunlight can damage the fern. A shaded window sill or a spot with filtered light is ideal. Healthy light promotes strong root growth.
With these simple steps, you can enjoy growing ferns in water. It’s a fun and educational activity for all ages. Start your water-growing journey today!

Caring For Ferns In Water
Ferns are beautiful plants. They can thrive in water with the right care. Follow these guidelines to keep your water-grown ferns healthy and vibrant.
Light And Temperature Requirements
Ferns need bright, indirect light. Direct sunlight can burn their leaves. Place them near a window with filtered light.
Ensure the temperature stays between 60-75°F (15-24°C). Avoid placing them near heaters or air conditioners.
Changing The Water
Change the water once a week. Stagnant water can lead to root rot. Use room-temperature, filtered water. Avoid using chlorinated tap water.
Rinse the roots gently when changing the water to remove debris.
Pruning The Ferns
Prune your ferns to keep them healthy. Use sharp, clean scissors to remove yellow or brown leaves and trim back overgrown areas.
Regular pruning encourages new growth and keeps the plant looking neat.
| Care Task | Frequency |
|---|---|
| Check Light and Temperature | Daily |
| Change Water | Weekly |
| Prune Ferns | Monthly |
You can also read this post: Syngonium Care : Top Tips!
Common Problems And Solutions For Growing Fern In Water
Growing ferns in water can be a delightful experience but also comes with challenges. Identifying and solving these problems can lead to healthy, thriving ferns.
Yellowing Leaves
Yellowing leaves often indicate a nutrient deficiency or poor water quality. Ensure you use filtered or distilled water to avoid harmful chemicals.
- Add a liquid fertilizer specifically for aquatic plants.
- Check for excessive direct sunlight. Move the fern to a spot with indirect light.
- Prune yellow leaves to encourage new growth.
Algae Growth
Algae growth can hinder your fern’s health. It’s often caused by too much light or excess nutrients in the water.
- Place the fern in an area with less direct sunlight.
- Use an aquarium-safe algaecide to control algae.
- Change the water regularly, at least once a week.
- Clean the container thoroughly to remove algae buildup.
Root Rot
Root rot is a serious issue for water-grown ferns. It occurs when roots stay submerged for too long without proper oxygen.
| Problem | Solution |
|---|---|
| Waterlogged roots | Use a hydroponic system to allow better oxygen flow. |
| Stagnant water | Ensure frequent water changes to keep it fresh. |
| Fungal infections | Apply a fungicide suitable for aquatic plants. |
By addressing these common problems, your ferns will flourish in water. Regular care and observation are key to success.
Transferring Ferns To Soil
Growing ferns in water can be a fascinating process. But at some point, these ferns will need a more stable environment.
This is where transferring ferns to soil becomes essential. This guide will walk you through the necessary steps for a smooth transition.
When To Transfer
Knowing when to transfer your ferns to soil is crucial. The right time can make a big difference in their growth.
Look for these signs to determine the best time:
- Strong Root System: Check if the roots are well-developed and healthy.
- Healthy Leaves: Ensure the leaves are green and robust.
- Stable Growth: Notice if the fern has been growing steadily for a few weeks.
Transferring Process
Follow these steps to transfer your ferns to soil:
- Prepare the Pot: Choose a pot with good drainage holes.
- Select the Soil: Use a well-draining, rich soil mix suitable for ferns.
- Remove the Fern: Gently remove the fern from the water without damaging the roots.
- Plant the Fern: Place the fern in the pot and cover the roots with soil.
- Water the Fern: Water the soil until it is evenly moist but not soggy.
- Find the Right Spot: Place the pot in a location with indirect sunlight.
Following these steps will help your ferns adapt to their new environment. Remember to monitor the soil moisture and light conditions regularly.
This will ensure your ferns thrive in their new home.
Frequently Asked Questions
Can You Grow Ferns In Just Water?
Yes, you can grow some ferns in just water. Choose water-loving varieties like water sprite or Java fern. Keep water clean and change it regularly for best results.
Can You Grow Ferns From Cuttings?
Yes, you can grow ferns from cuttings. For best results, use healthy fronds or rhizomes. Ensure proper moisture and indirect light.
Can Ferns Grow In Standing Water?
Yes, some ferns can grow in standing water. Aquatic ferns like water clover thrive in wet conditions. Ensure proper sunlight and nutrients for healthy growth.
What Does Epsom Salt Do For Ferns?
Epsom salt boosts fern health by providing magnesium and sulfur. These nutrients enhance chlorophyll production, improving photosynthesis and growth.
Conclusion
Growing ferns in water is both simple and rewarding. With proper care, they can thrive beautifully indoors.
Remember to change the water regularly and ensure adequate light. Experiment with different containers for a decorative touch.
Enjoy the lush greenery and elegance that water-grown ferns bring to your home!