

27 Game-Changing Garage Sale Organization Tips That Maximize Your Profits
Planning a garage sale can feel overwhelming, but with the right organization, you’ll turn clutter into cash in no time.
A well-organized garage sale not only attracts more customers but also helps you sell items faster and at better prices.
Let’s dive into these proven tips and tricks that will transform your garage sale from chaotic to profitable.
1: Plan Your Sale At Least Two Weeks Ahead

Give yourself ample planning time to sort through items, price them properly, and advertise effectively.
This buffer allows you to gather supplies, create signage, and organize your space without last-minute stress.
Remember that rushed sales often result in forgotten items and missed opportunities for profit.
2: Check Local Regulations Before Setting a Date
Contact your local government office to verify if you need a permit for your garage sale.
Some neighborhoods and HOAs have specific rules about frequency, duration, and signage placement.
Staying compliant avoids potential fines that could eat into your profits.
3: Choose Your Sale Date Strategically
Schedule your sale for the first weekend of the month when most people receive paychecks.
Friday mornings often attract serious buyers looking for the best selection, while Saturday mornings bring the largest crowds.
Avoid holiday weekends when potential customers might be traveling.
4: Create a Comprehensive Inventory List

Document every item you plan to sell with brief descriptions and your target price.
This inventory helps you track what sells and what doesn’t throughout the day.
You’ll also have a record for tax purposes and can better plan future sales.
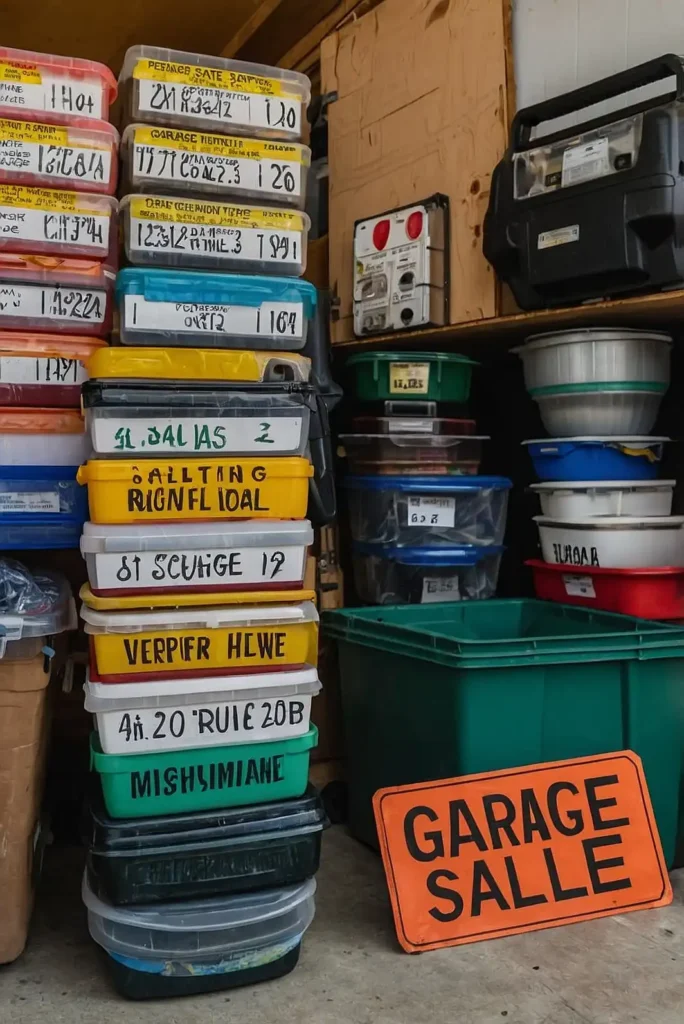
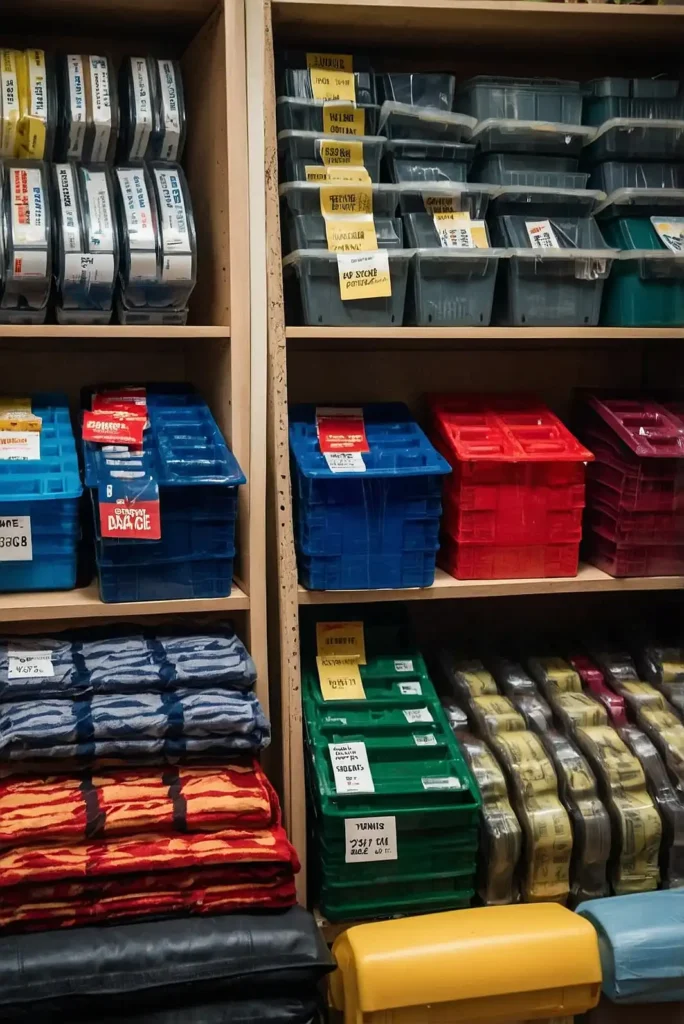
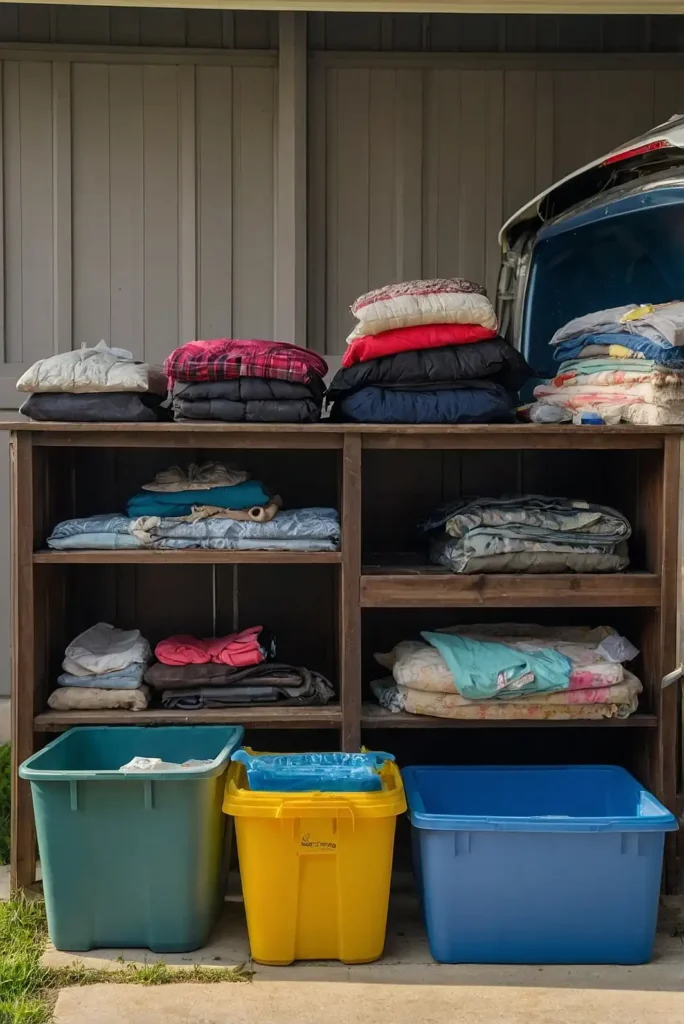
5: Sort Items into Clear Categories
Group similar items together—clothing, kitchen items, tools, toys, and electronics.
This organization makes it easier for shoppers to find what they’re looking for without frustration.
Well-defined sections create a more professional shopping experience.
6: Price Everything Before Sale Day

Use colorful price stickers or tags that are clearly visible on each item.
Consider using a color-coding system for different price ranges to help shoppers identify bargains quickly.
Having prices already marked saves you from negotiating on every single item.
7: Create a Staging Area Days Before the Sale
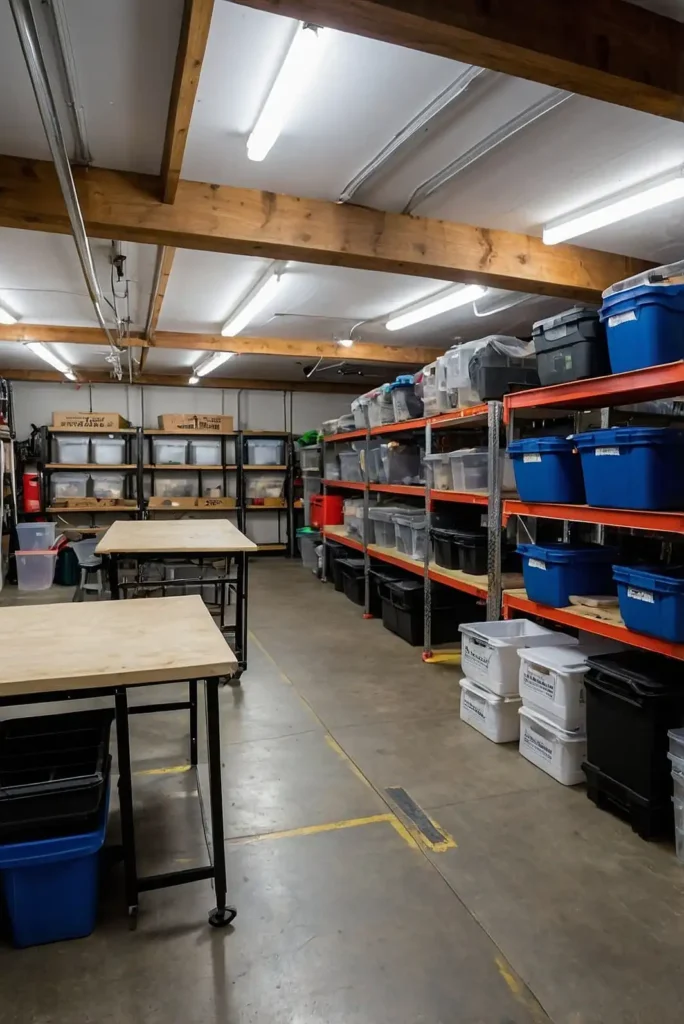
Set up tables, racks, and display areas in your garage or basement before moving items outside.
Arrange everything as it will appear during the sale to identify any space issues.
This rehearsal helps you optimize your layout for maximum visibility and flow.
8: Design Eye-Catching, Weather-Resistant Signs

Create bold, readable signs with large text that can be seen from a moving car.
Include your address, date, time, and directional arrows at key intersections.
Laminate your signs or use waterproof materials to withstand unexpected weather.
9: Advertise Online and Offline a Week Before

Post your sale on Craigslist, Facebook Marketplace, NextDoor, and garage sale apps.
Include photos of your best items to attract serious buyers.
Distribute flyers in community centers and local businesses to reach a wider audience.
10: Prepare a Cash Box with Plenty of Change

Start with at least $100 in small bills and coins to make change easily.
Keep your cash box secure and out of reach, preferably attended by a friend or family member.
Consider using a money belt for larger bills to prevent theft.
11: Set Up a Prominent “Free” Box
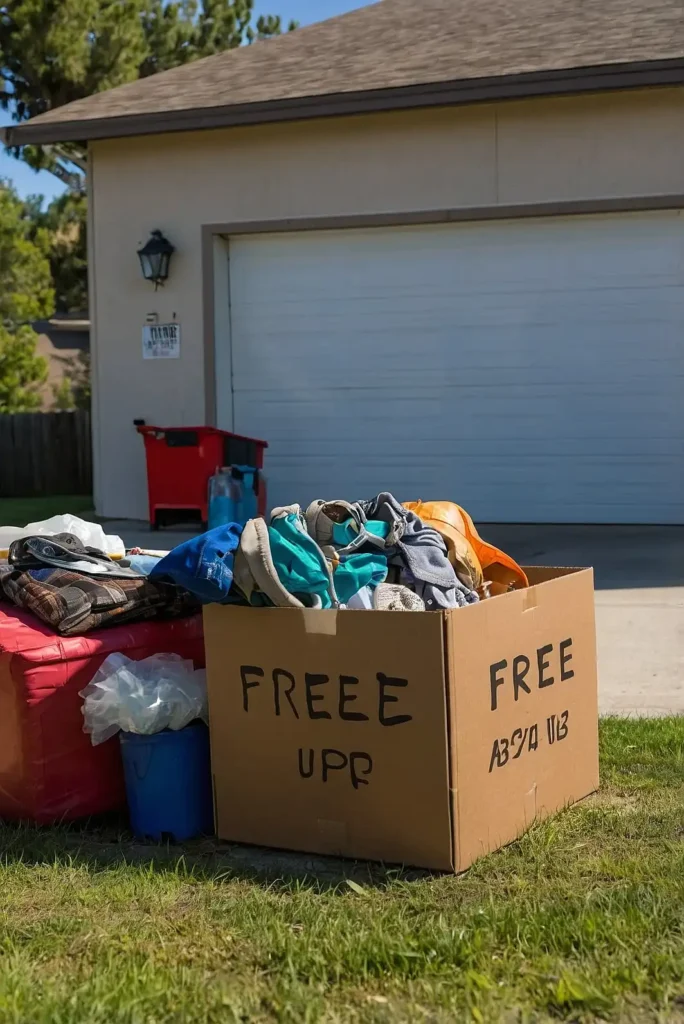
Place items that aren’t worth pricing but are still usable in a clearly marked free box.
Position this near the entrance to attract people passing by.
Free items create goodwill and often lead to additional purchases.
12: Create a Kid-Friendly Zone
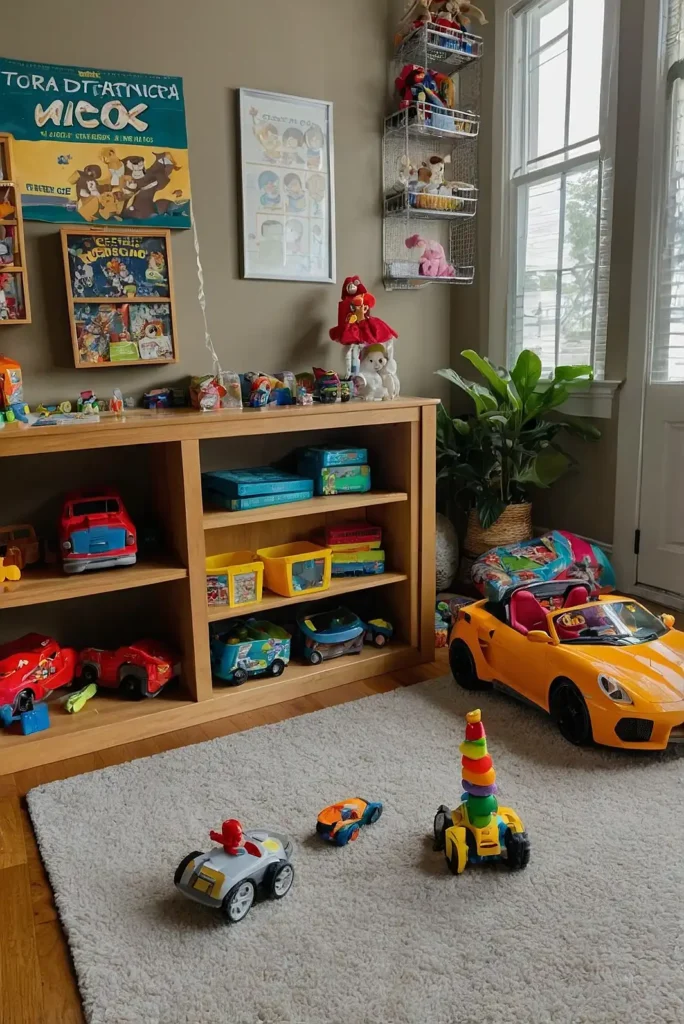
Set up a small area with toys, books, and kid-friendly items to keep children entertained.
This allows parents to browse longer without distraction.
Consider offering simple refreshments for families to encourage them to stay longer.
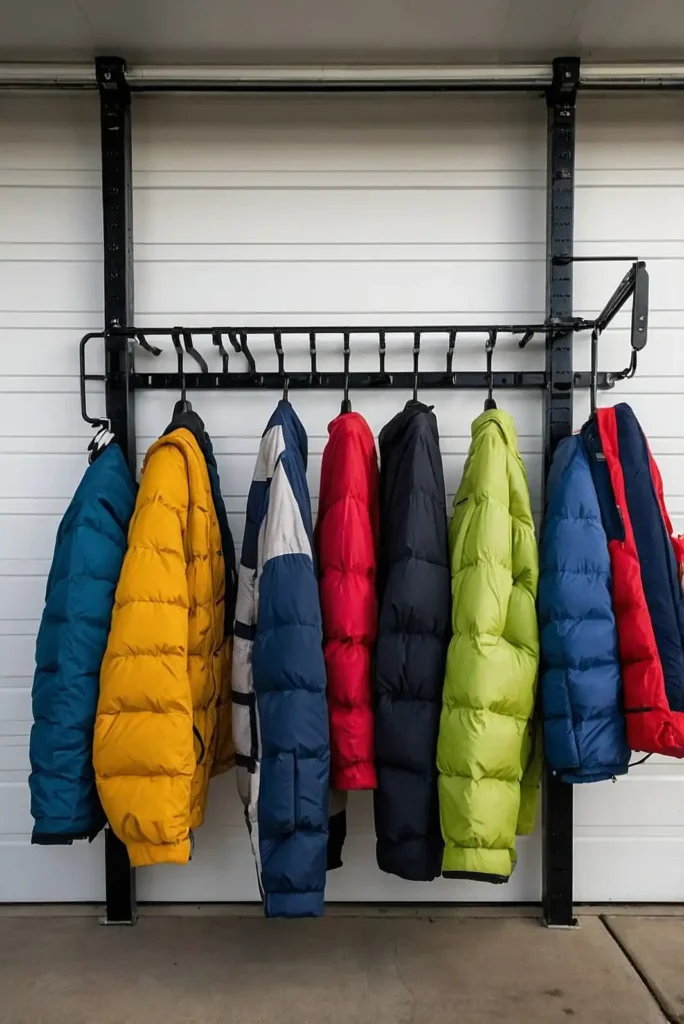
13: Display Clothing Items Properly

Hang clothes on a portable rack rather than folding them on tables.
Organize by size, gender, and type to make browsing efficient.
Clean, well-displayed clothing items can command higher prices than wrinkled piles.
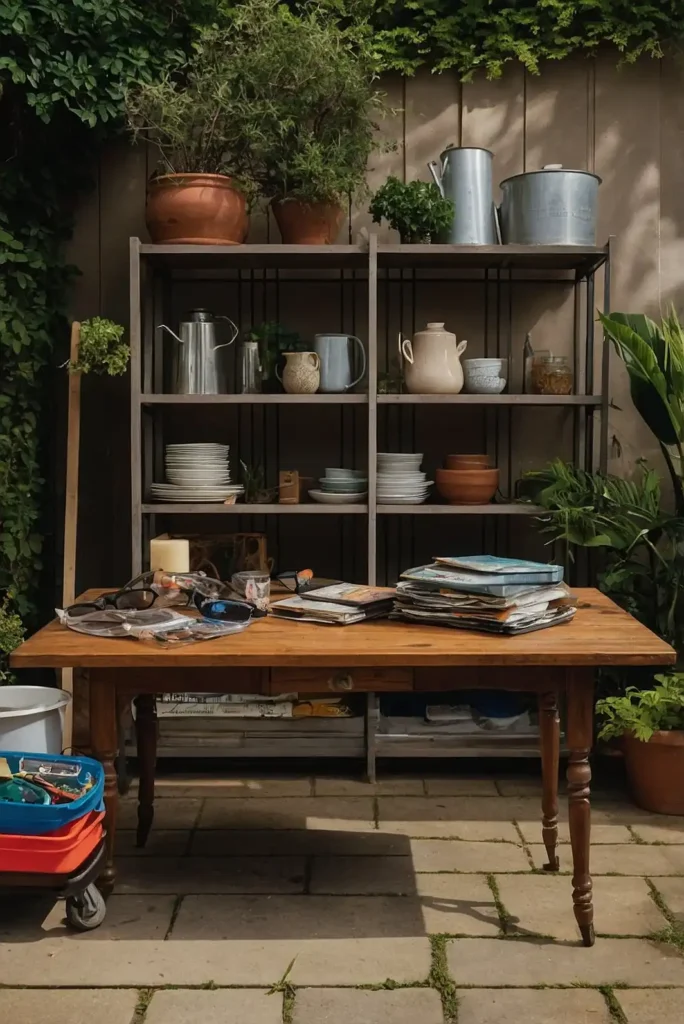
14: Use Multi-Level Displays for Visibility
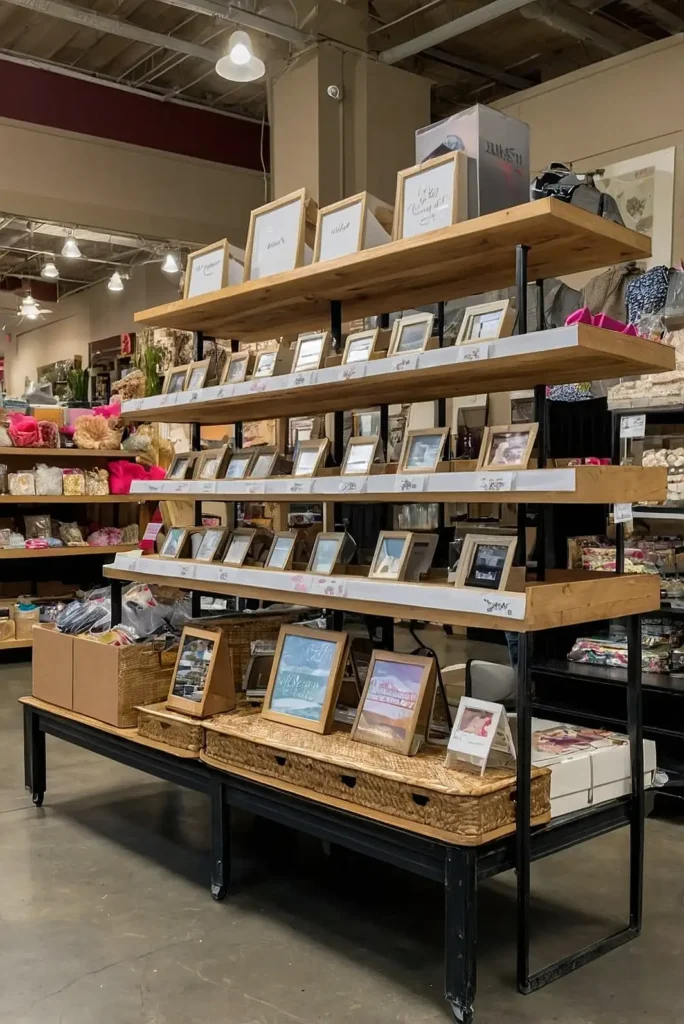
Elevate items at the back of tables so shoppers can see everything at a glance.
Use risers, boxes, or shelving to create different heights.
This professional display technique increases visibility and perceived value.
15: Test All Electronics Before Selling
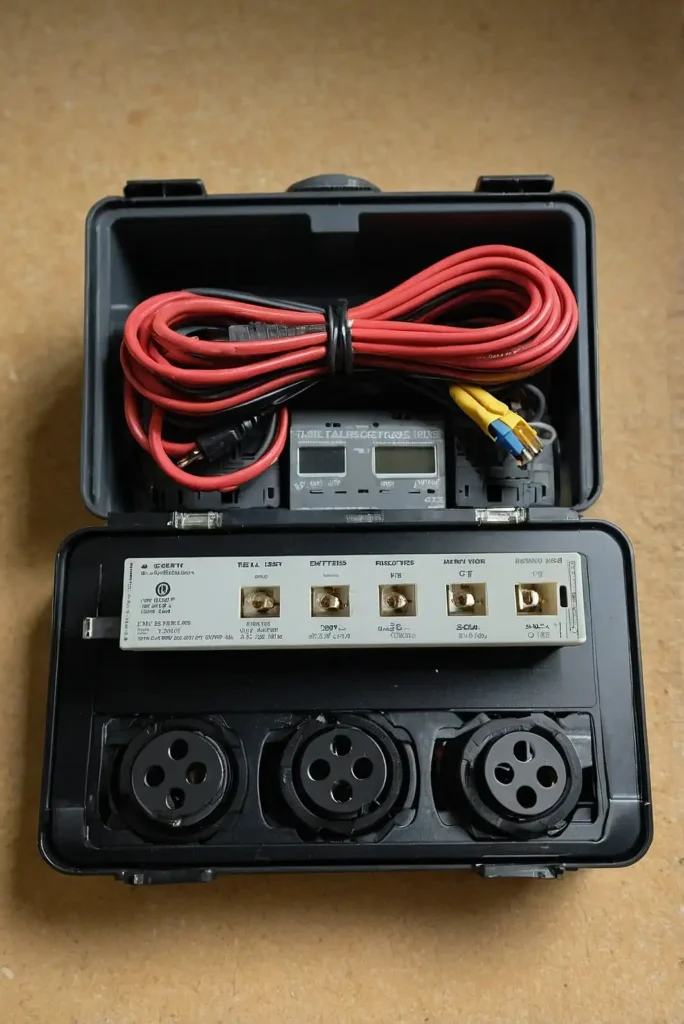
Have an extension cord and batteries available to demonstrate that electronic items work.
Place working electronics near an outlet for easy testing.
Clearly mark any items that are being sold “as is” or for parts only.
16: Create Themed Collections for Higher Sales

Bundle related items together to create appealing packages.
Combine books by the same author, kitchen tools for specific tasks, or coordinating decor items.
These curated collections often sell for more than individual pieces.
17: Have Shopping Bags and Boxes Ready
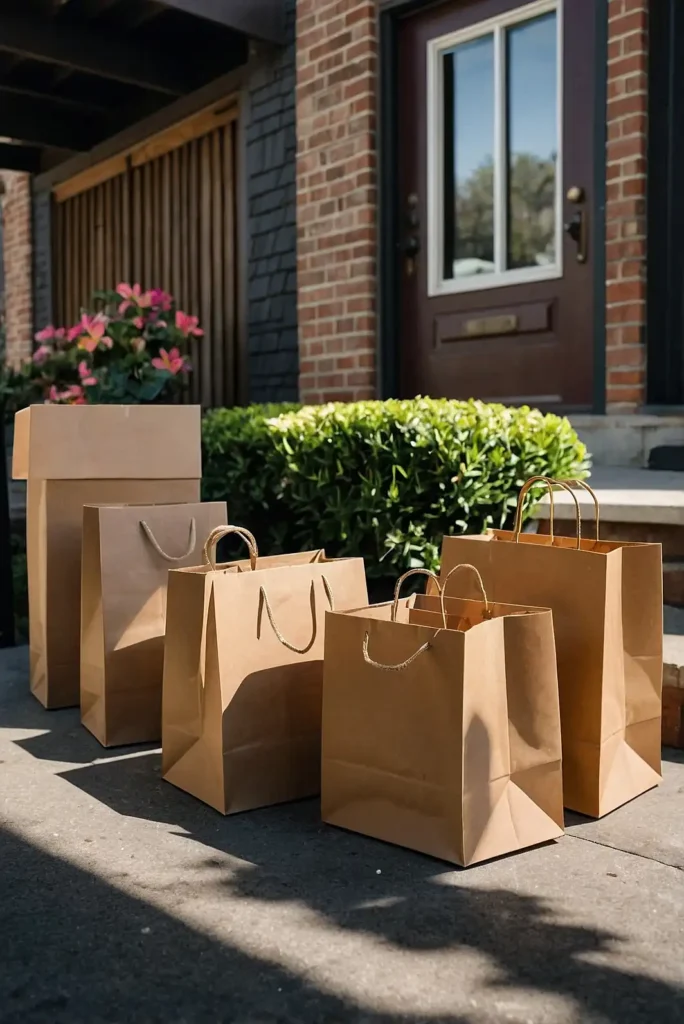
Collect grocery bags, gift bags, and small boxes in advance.
Offer these to customers who make multiple purchases.
This convenience encourages people to buy more than they initially planned.
18: Set Up a Checkout Area Away From the Main Display

Create a dedicated space for finalizing purchases and handling money.
Keep a calculator, receipt book, and pens handy.
This separation keeps the shopping area less congested and more secure.
19: Recruit Friends or Family as Sale Assistants

Assign specific roles like cashier, security monitor, and customer service.
More helpers mean better customer service and theft prevention.
Reward your assistants with lunch or a percentage of the profits.
20: Implement a Time-Based Pricing Strategy

Consider marking items at full price in the morning and discounting progressively throughout the day.
Use colored dots to indicate different discount levels by time.
This creates urgency among early birds and still moves remaining inventory later.
21: Create Clear, Detailed Descriptions for Valuable Items
Write information cards for antiques, collectibles, or high-value items.
Include history, original price, and special features.
These descriptions justify higher prices and attract serious collectors.
22: Prepare for Weather Contingencies
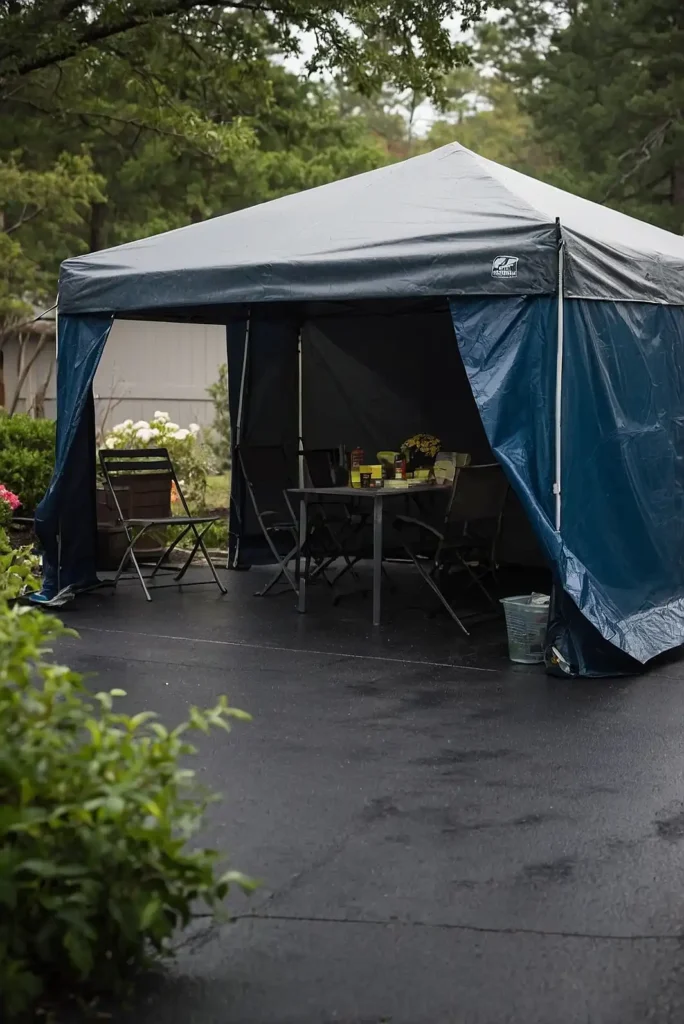
Have tarps, canopies, or pop-up tents ready in case of light rain or intense sun.
Secure lightweight items that might blow away in wind.
Weather preparation protects your merchandise and keeps shoppers comfortable.
23: Keep Refreshments Available for Shoppers

Offer water, lemonade, or coffee, especially on hot or cold days.
Consider selling homemade cookies or snacks for additional profit.
Refreshments encourage shoppers to stay longer and browse more thoroughly.
24: Use Vertical Space Effectively
Hang items on fences, garage doors, or portable clothing racks.
Install temporary hooks or use tension rods in doorways for additional display space.
Vertical displays maximize your selling area without requiring more tables.
25: Accept Multiple Payment Methods
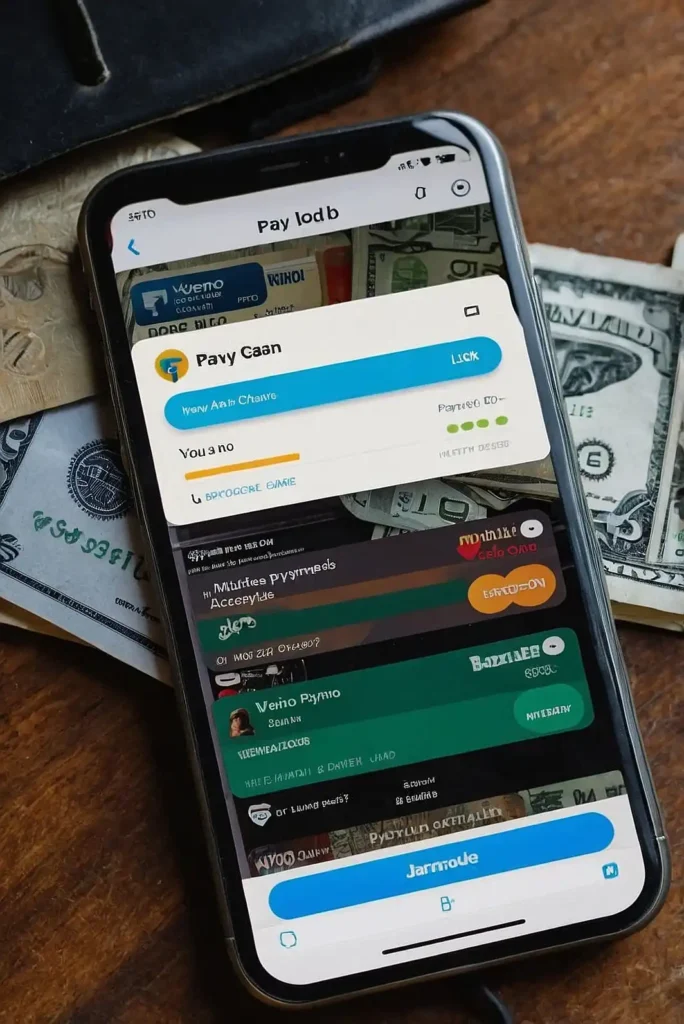
Consider using mobile payment apps like Venmo, PayPal, or Cash App.
Post signs showing which payment methods you accept.
Offering multiple options increases your chances of making larger sales.
26: Create a “Last Chance” Table Near the Exit
Place marked-down items that haven’t sold in a prominent location.
Offer special deals like “fill a bag for $5” toward the end of your sale.
This strategy helps clear inventory and provides a final sales opportunity.
27: Have a Post-Sale Plan Ready
Decide in advance what to do with unsold items.
Schedule a donation pickup for the same day or next morning.
Having this plan prevents unsold items from returning to your storage spaces.
Conclusion
With these 27 garage sale organization tips, you’re now equipped to host a successful, stress-free event that maximizes your profits while clearing out your clutter effectively.