All Birds Nest Fern Problems
If you own bird’s nest ferns in your house then this article is for you. Bird’s nest ferns are quite renowned indoor fern plants that attract many plant lovers.
Although they are low maintenance, still they’ll require some common needs to flourish. If they don’t get those needs, your ferns might face some challenges in their growing process.
So don’t be worried, I’ll give your overall idea about bird’s nest ferns’ characteristics along with sharing their most common problems and the reason behind them.
Equivalently, I’ll also talk about how you can troubleshoot all those problems to have healthy bird’s nest ferns. So let’s begin.
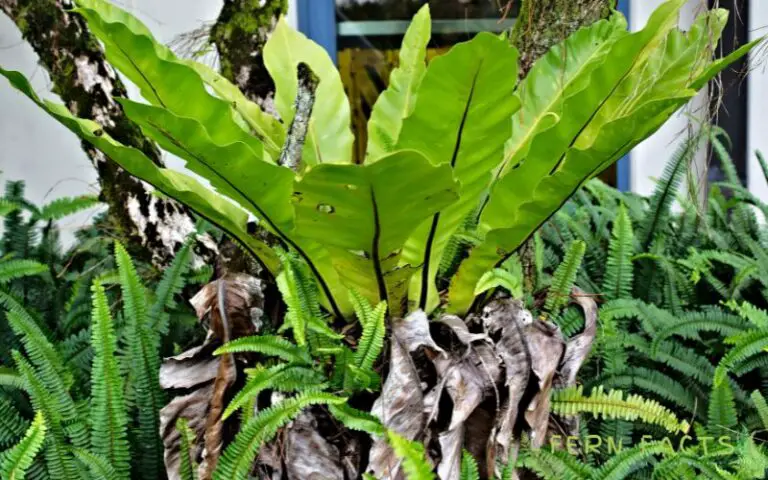
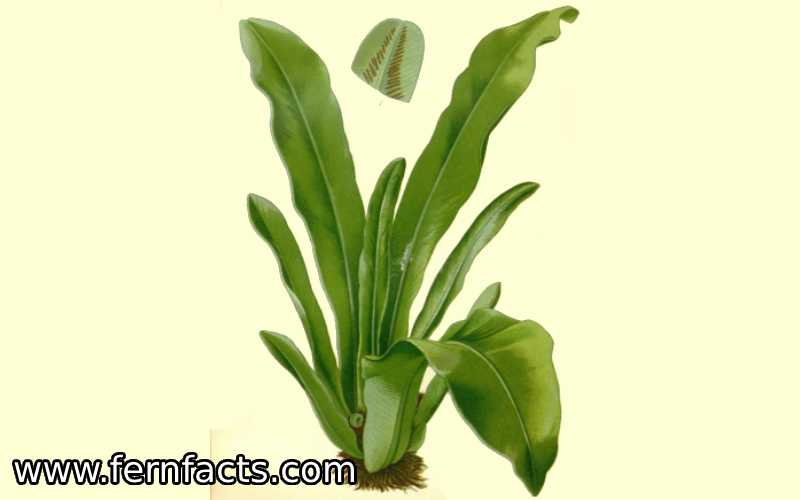
Bird’s Nest Ferns
- Botanical name: Asplenium nidus
- Plants: evergreen perennial
- Native range: Southeastern Asia, Hawaii, India, eastern Africa and eastern Australia
- Shade requirements: partial to full
- Height: around 1 m
- Soil ph: alkaline or neutral,
- Soil type: loamy, moist and well-drained
- Hardiness zone: 11, 12
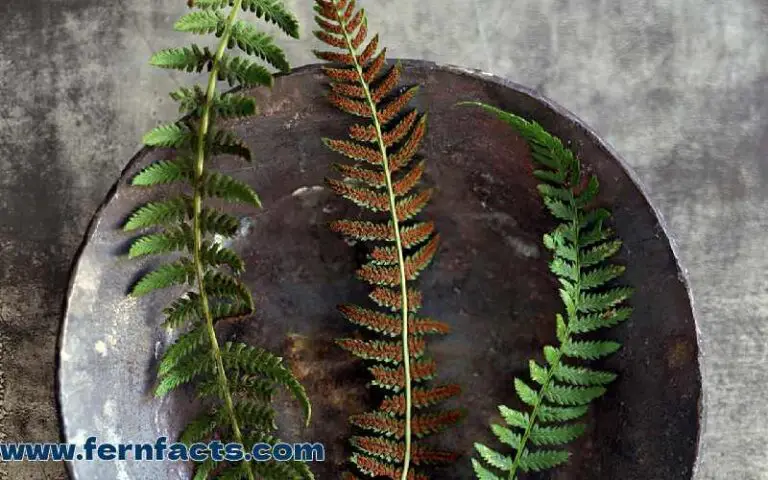
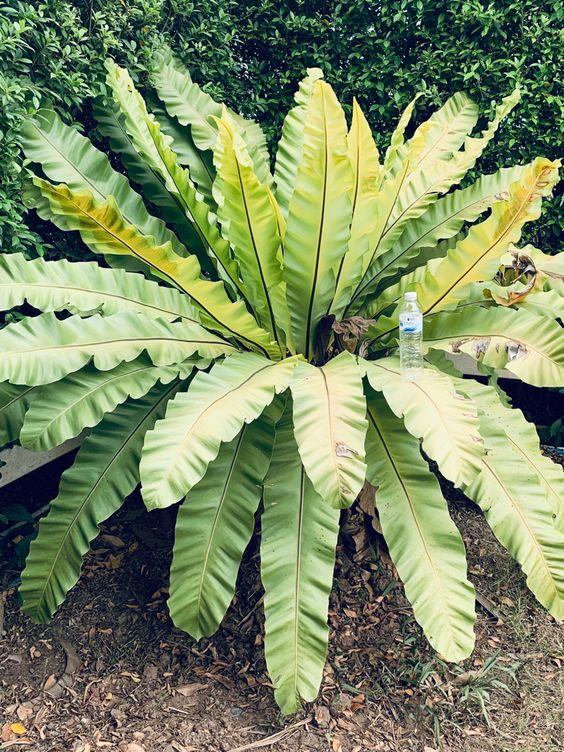
Bird’s nest ferns are evergreen perennial plant ferns which are known for their crispy wavy fronds texture. Their fronds almost resemble banana leaves.
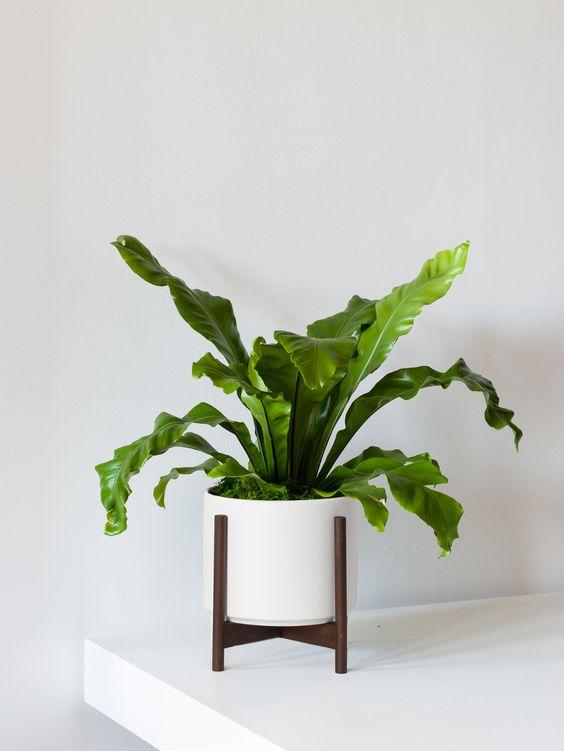
These birds’ nest ferns are frequently visible in southeastern Asia, eastern Australia, India, eastern Africa, and Hawaii as well. Since they prefer a warm atmosphere with bright indirect sunlight, they are the best fit for bathroom plants as well.
On average, their growth rate is quite slower than the normal fern varieties, therefore they are also best-used indoor plants by the majority of plant lovers.
Common Problems of Bird’s Nest Fern Problem
There are common issues that you might face while growing your elegant bird’s nest ferns. Here are those issues:
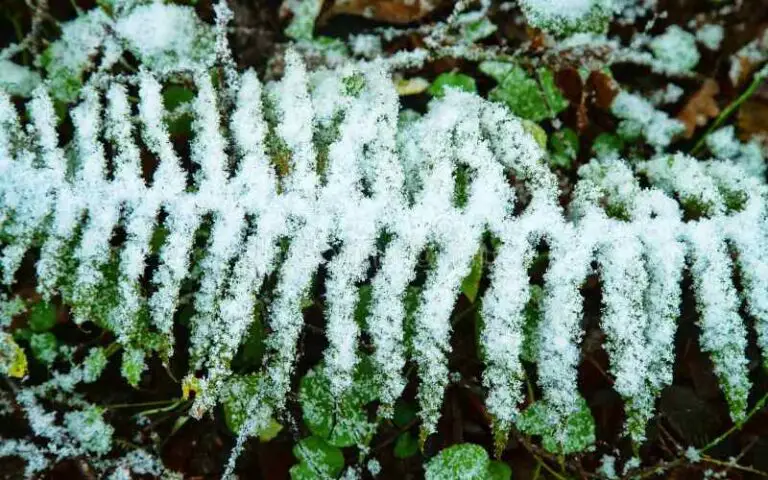
Curled Fronds
Bird’s nest ferns very frequently have curled fronds. The possible reasons might be whether they lack moisture in it.
If the plants remain dry for a longer period of time. They tend to have brown fronds which later appear into curled ones. Another reason could be your ferns are getting too much sun that curls their fronds by giving them fronds burn.
Yellow Fronds/ Drooping Fronds
If you observe your ferns are getting yellow, probably you are giving too much water to them. Sometimes excessive water can cause your ferns to have yellowish fronds.
Since their roots start decaying because of soaked water, yellow fronds are the main sign of this cause. Dropping fronds is also sign of overwatering since the water cannot get drained from the pot.
Ultimately their leaves start to drop downwards.
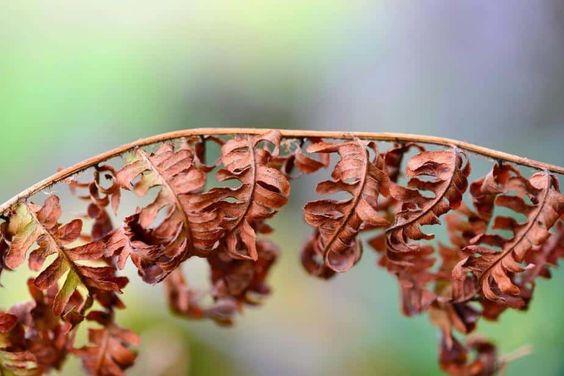
Brown Tips
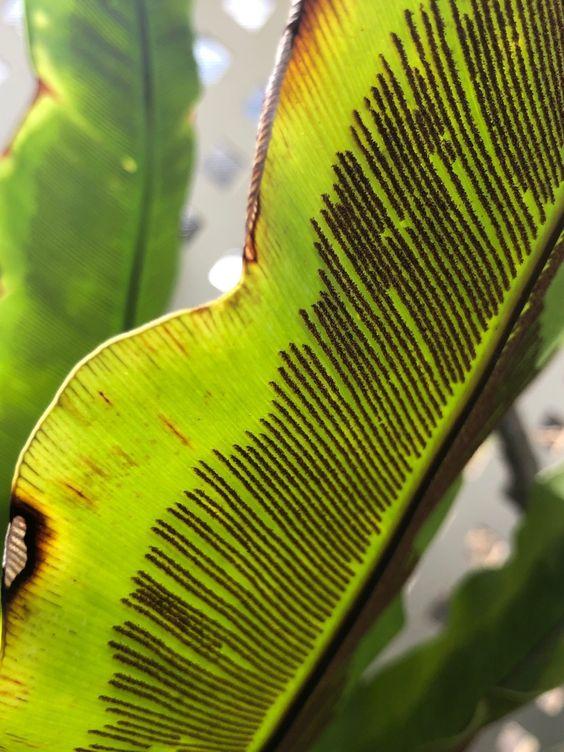
Most probably brown leaves can be seen due to over sunlight exposure onto your bird’s nest ferns. So too much sun exposure can make the fronds brown and scorched.
Also, bird’s nest ferns are perennial plants which could be additional reasons for their brown tips. It’s a sign of their aging. Still, it can also happen due to pest attacks.
Root Rot / Smelly Roots
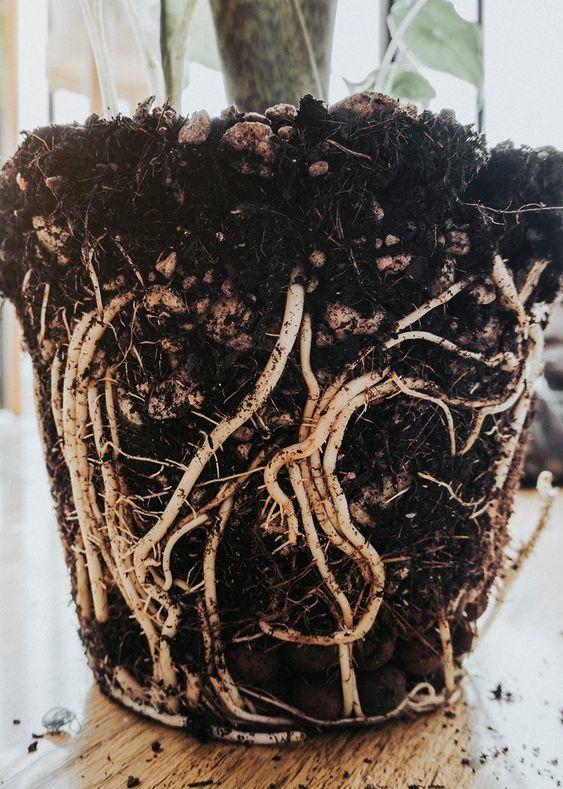
Well, root rots mostly happen due to overwatering issues. If you give your ferns excessive water, their soil starts to get soggy and mushy. Eventually, the soil starts smelling like a foul odor.
Gradually the root also starts to rot because of waterlogged situations.
Troubleshooting All Bird’s Nest Ferns Problems
Let’s look at some probable solutions to these common problems of your bird’s nest ferns.
Proper Watering
Since watering is very crucial for plants, it is the same as your bird’s nest ferns. Overcare of overwatering equivalently underwater, both are harmful to your bird’s nest ferns. So avoid overwatering your plants since you already know the reason.
you are giving your plants their food. Hence, give them a decent round of water until you can observe the water level almost reaches the edges of the pot.
Always give normal room temperature water rather than cold water. Because it might give their roots a sudden shock. Monitor the pot thoroughly and only water your bird nest ferns when the soil is dry.
If you cannot understand the moisture level, you can use a thumb checkup by pressing your thumb into the soil. If your plant’s soil is too hard or dry then there will be no sign of water inside of the plants.
Then you can put water into the plants. But after pressing your thumbs, if you see water coming out of the soil is still mushy, then you don’t have to pour water on it.
Wait until the water is dry completely, then pour water onto your plants. Generally, you can give them water once in 3 to 5 days or once or twice a week depending on the weather conditions or the environment.
In the winter seasons, you can reduce the watering level as well.
Sufficient Lighting
Similarly, an adequate level of lighting and shade is also another important part of making your ferns last longer. As you are already aware of the over-sun exposure causes, you need to maintain their ideal light conditions.
Normally bird’s nest ferns prefer medium to full shaded places as they are mostly indoor plants. So try to give them partial shade; North north-facing window would be decent for your indoor container plants.
Further, you can also place your bird’s nest ferns beside the window, door, balcony, and bathroom where they will not be exposed to direct sunlight.
And for your outdoor plants, try to plant them under big tree canopies or shaded places so that they can get dappled sunlight, not the direct rays. It will help your plants from getting burned with excessive sun exposure.
Proper Humidity Levels
Bird’s nest ferns are humid lovers. That’s why you need to provide them with an appropriate humidity level for your ferns. To increase humidity levels, you can use misting techniques to keep them hydrated.
Alternatively, you can choose a humidifier for your plants to sustain hydration. Either way, you can put your bird’s nest fern in the bathroom, kitchen, beside the window, or balcony.
The ideal temperature for bird’s nest ferns is between 60°F to 80° F. Hence, you can use a pebbles tray beside your plants if you don’t want to buy a humidifier.
Pests Solutions
If you notice your ferns are being attacked by pests and insects, then immediately isolate your bird’s nest ferns. Then treat them with insecticidal soap or pesticides at your convenience.
Follow the label’s instructions to get the maximum result.
General Care and Managing Tips of Bird’s Nest Fern
- Give them their ideal environments to have flourishing and healthy bird’s nest ferns.
- Give them partial to fully shaded places. You can place them beside north-facing windows to avoid direct sunlight exposure over them.
- Try to give them moist and damp soil neither too dry nor too soggy.
- use rich organic well-drained soil that can provide all nutritional benefits to the plants.
- Fertilize your bird’s nest ferns with all-purpose plant fertilizer or liquid fertilizer during their growing season.
- Yearly repotting your bird’s nest ferns to have robust growth.
- Promptly monitor your plants to ensure their health care.
Wrap up
In short, bird’s nest ferns are perennial plants that are very popular among plant lovers because of their crispy wavy greenery foliage.
Their lush greenery foliage is the best option for indoor plants. However, like other fern plants, these bird’s nest ferns get vulnerable if they don’t get their ideal condition.
Eventually, you will notice brown tips, yellow drooping fronds, curled fronds, and rotten root problems. But you can address this problem by providing them with their ideal conditions like adequate lighting, watering, humidity, etc.
Thus, you can have healthy growing bird’s nest ferns in your house by understanding their basic needs.